

⏲️ Estimated reading time: 6 min
Table of Contents
How To Make Best Settings Nvidia Control Panel RTX 5070 Ti. Unlock the full power of your NVIDIA GeForce RTX 5070 Ti with optimized Control Panel settings. This in-depth guide covers performance tweaks, image quality enhancements, gaming optimizations, and display adjustments to ensure your GPU delivers the best possible experience.
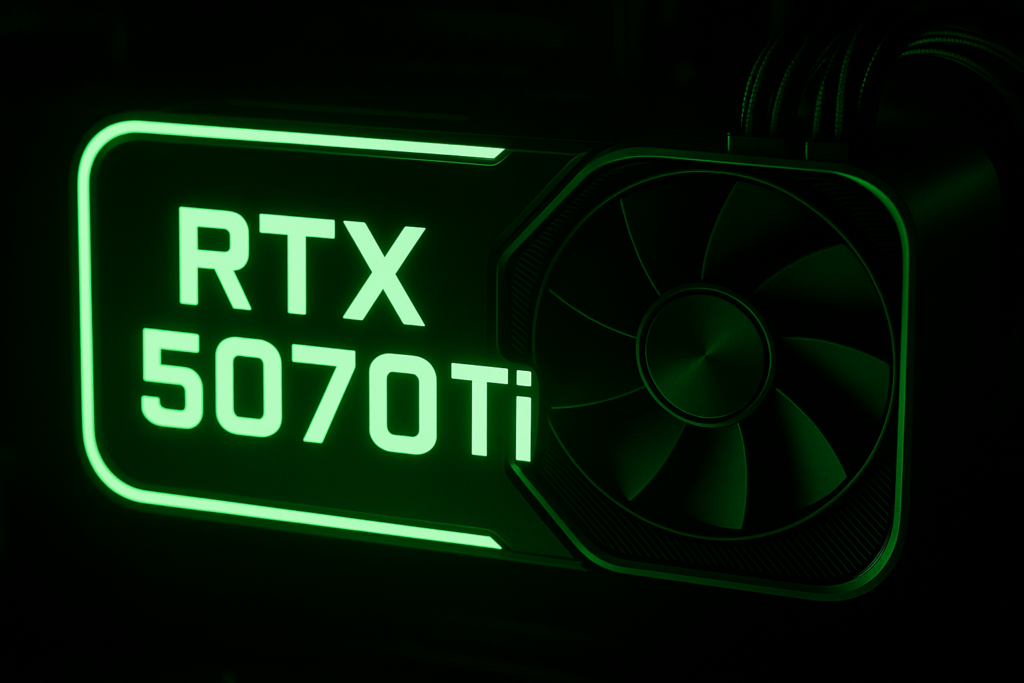
NVIDIA GeForce RTX 5070 Ti
Read also: Why the Deep Ocean Stays Cold on a Hot Earth
The NVIDIA GeForce RTX 5070 Ti is one of the most balanced graphics cards from the new generation, sitting comfortably between affordability and high performance. Designed with Ada Lovelace architecture, it provides exceptional gaming performance in 1440p, competitive power for 4K, and outstanding ray tracing capabilities.
However, simply installing your GPU and updating the drivers is not enough to maximize its potential. Many users overlook one of the most powerful tools included with their graphics card the NVIDIA Control Panel.
In this guide, we’ll go through the best NVIDIA Control Panel settings for the RTX 5070 Ti, focusing on performance, visuals, and stability. Whether you’re aiming for higher FPS in competitive titles like CS2, smoother frame pacing in cinematic AAA games, or simply the best color accuracy for creative work, this article will help you find the ideal balance.
Why NVIDIA Control Panel Settings Matter
While GeForce Experience offers automatic optimizations for games, the NVIDIA Control Panel provides deeper customization. It allows you to configure how your GPU handles rendering, scaling, and synchronization.
Optimized settings ensure:
- Higher FPS in demanding games.
- Lower input latency for competitive gaming.
- Sharper visuals without unnecessary GPU load.
- Stable frame times for smoother gameplay.
Even if you have a powerful card like the RTX 5070 Ti, incorrect settings can cause screen tearing, stuttering, or poor image quality.
Step 1: Update Your Drivers
Before tweaking any settings, always install the latest Game Ready Driver from NVIDIA’s website or GeForce Experience. New drivers improve game optimizations, fix bugs, and sometimes boost FPS significantly.
- Open GeForce Experience → go to Drivers tab → click Check for updates.
- Alternatively, download the latest driver manually from NVIDIA’s website.
Step 2: Open NVIDIA Control Panel
To access the NVIDIA Control Panel:
- Right-click on your desktop.
- Select NVIDIA Control Panel.
- If it doesn’t appear, reinstall the driver package.
Step 3: Adjust 3D Settings
Go to Manage 3D Settings → Global Settings. These are the key settings for gaming performance.
1. Image Scaling
- On if you want to boost FPS at lower resolutions.
- Set sharpening between 30–50%.
- Great for eSports titles (Valorant, CS2, Fortnite).
2. Anisotropic Filtering
- Application-controlled.
- Forces higher texture quality in games that allow it.
3. Antialiasing – FXAA
- Off (FXAA is a low-quality blur filter; use TAA/DLSS instead).
4. CUDA – GPUs
- All (ensures all cores of RTX 5070 Ti are active).
5. Low Latency Mode
- On for general gaming.
- Ultra for competitive shooters (reduces input lag).
6. Max Frame Rate
- Off (unless you want to cap FPS for lower power/temps).
7. Monitor Technology
- G-SYNC Compatible (if your monitor supports it).
8. Multi-Frame Sampled AA (MFAA)
- On (improves AA efficiency with minimal FPS loss).
9. OpenGL Rendering GPU
- Select NVIDIA GeForce RTX 5070 Ti (not Auto).
10. Power Management Mode
- Prefer Maximum Performance (ensures full GPU usage).
11. Preferred Refresh Rate
- Highest available (especially for 144Hz/165Hz/240Hz monitors).
12. Shader Cache Size
- Unlimited (improves load times and stutter).
13. Texture Filtering – Anisotropic Optimization
- On.
14. Texture Filtering – Negative LOD Bias
- Allow (helps sharpness in some games).
15. Texture Filtering – Quality
- Set to High Performance for eSports.
- Quality for AAA single-player titles.
16. Threaded Optimization
- On (better CPU/GPU parallel performance).
17. Triple Buffering
- Off unless V-Sync is enabled.
18. Vertical Sync
- Use the 3D application setting.
- Enable only if screen tearing occurs.
Step 4: Configure Display Settings
Go to Display → Change Resolution.
- Select Native resolution of your monitor (1080p, 1440p, or 4K).
- Refresh rate: choose the maximum available.
- Output color format: RGB.
- Output dynamic range: Full (not Limited).
Step 5: Set Up G-SYNC (If Available)
If your monitor supports G-SYNC or FreeSync (G-SYNC compatible):
- Go to Display → Set up G-SYNC.
- Check Enable G-SYNC, G-SYNC Compatible.
- Select Enable for full-screen mode (or full-screen + windowed if you multitask).
This reduces tearing and stuttering.
Step 6: Adjust Desktop Color Settings
Go to Display → Adjust desktop color settings.
- Digital vibrance: 55–65% (makes colors pop).
- Brightness and contrast: leave default unless calibration is needed.
Step 7: Configure Surround, PhysX
Go to Configure Surround, PhysX.
- Set PhysX Processor to RTX 5070 Ti.
- Do not leave on Auto.
Advanced Tips for Gamers
- Enable DLSS / Frame Generation in supported games → this gives massive FPS boosts.
- Use NVIDIA Reflex Low Latency in eSports titles → reduces input lag further.
- Limit Background Apps → disable overlays you don’t need.
Best Settings for Different Scenarios
Competitive eSports (Valorant, CS2, Fortnite)
- Low Latency: Ultra
- Texture filtering: High Performance
- Max FPS uncapped
- DLSS: Performance mode
- G-SYNC: On
AAA Single Player (Cyberpunk 2077, Starfield)
- DLSS: Quality mode
- Ray tracing: On (balanced)
- Texture filtering: Quality
- G-SYNC + V-Sync combination
Content Creation (Video/Photo Editing)
- Color: Full RGB, Full dynamic range
- Texture filtering: Quality
- Power management: Optimal Performance
Common Mistakes to Avoid
- Leaving Power Management on Adaptive → causes FPS drops.
- Forcing V-Sync globally → introduces input lag.
- Not enabling Shader Cache Unlimited → leads to stuttering.
- Using FXAA → blurs visuals unnecessarily.
Final Optimized Settings (Quick Recap)
- Image Scaling: On (if needed)
- Low Latency Mode: Ultra (eSports) / On (casual)
- Power Management: Maximum Performance
- Texture Filtering: High Performance (eSports) / Quality (AAA)
- G-SYNC: Enabled
- PhysX: RTX 5070 Ti
- Refresh Rate: Highest Available
- Color Range: Full RGB
🚀 Performance Gains You Can Expect
After applying these settings:
- 5–15% higher FPS in most games.
- Reduced stuttering thanks to unlimited shader cache.
- Lower input latency in eSports.
- Better image clarity without extra GPU load.
The RTX 5070 Ti is a powerhouse, but only if configured properly. These Control Panel tweaks ensure you’re not leaving performance on the table.
Final Thoughts
Your NVIDIA RTX 5070 Ti is capable of delivering breathtaking visuals and silky-smooth performance. By adjusting the NVIDIA Control Panel settings correctly, you’ll experience the true potential of your GPU whether you’re climbing competitive ranks or immersing yourself in cinematic single-player adventures.
Conclusion
Optimizing your NVIDIA Control Panel settings for the RTX 5070 Ti is essential for getting the best mix of performance, stability, and visuals. With the right configuration, you can enjoy higher FPS, reduced latency, and vibrant color output tailored to your gaming or creative needs.
🔔 For more tutorials like this, consider subscribing to our blog.
📩 Do you have questions or suggestions? Leave a comment or contact us!
🏷️ Tags: NVIDIA RTX 5070 Ti settings, best NVIDIA Control Panel settings, RTX 5070 Ti optimization, gaming performance RTX 5070 Ti, low latency NVIDIA settings, RTX 5070 Ti vs RTX 5070, RTX 5070 Ti G-SYNC setup, DLSS RTX 5070 Ti, NVIDIA Control Panel guide, RTX 5070 Ti drivers
📢 Hashtags: #NVIDIA #RTX5070Ti #GamingPerformance #NVIDIAControlPanel #PCGaming #DLSS #RayTracing #GSync #FPSBoost #Esports
