⏲️ Estimated reading time: 6 min
How To Make Best Settings Nvidia Control Panel RTX 5080
Unlock the full potential of your Nvidia GeForce RTX 5080 with optimized Control Panel settings. This in-depth guide walks you through performance, quality, and latency options, ensuring smooth gaming, stunning visuals, and maximum efficiency for your next-gen GPU setup.
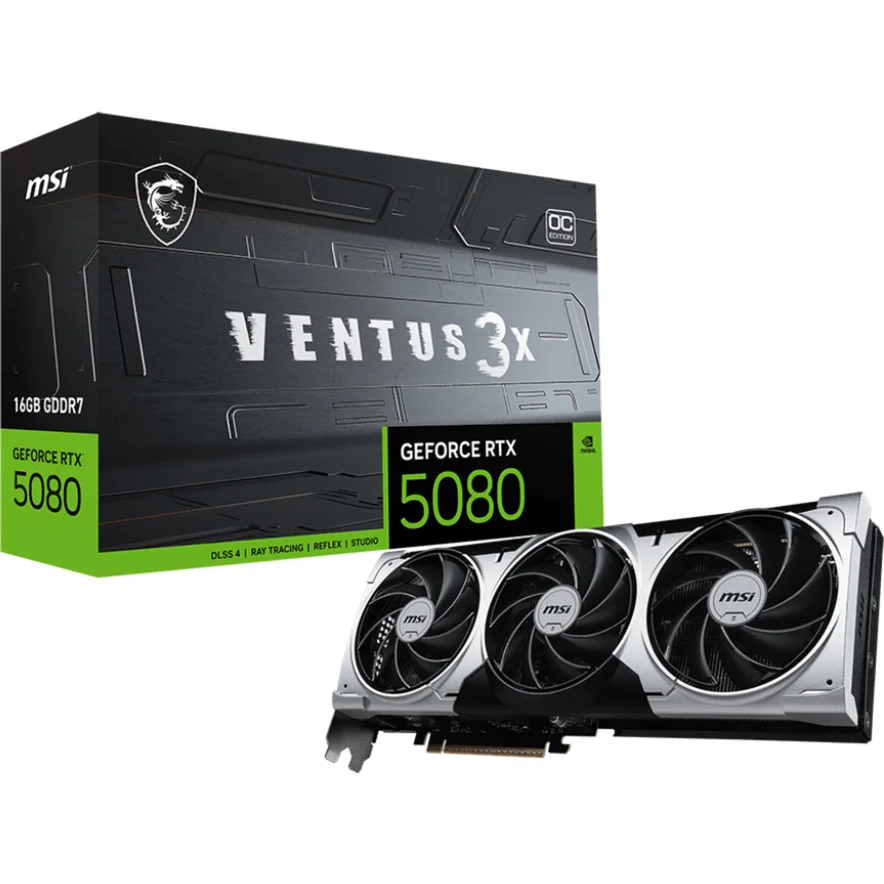
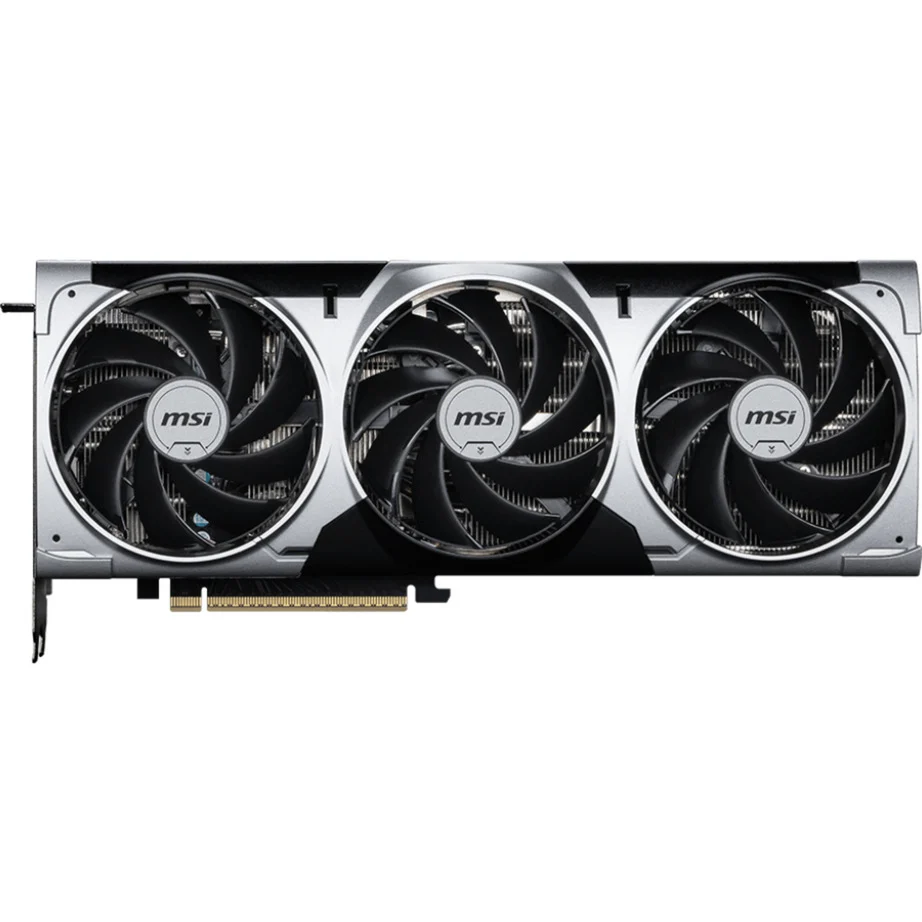
MSI GeForce RTX 5080 16G VENTUS 3X OC PLUS
The Nvidia GeForce RTX 5080 represents the future of PC graphics. With its advanced architecture, AI-powered DLSS, ray tracing enhancements, and massive CUDA core count, it’s designed to deliver flawless 4K and even 8K gaming. But raw power isn’t enough unlocking the full potential of the RTX 5080 requires fine-tuning its Nvidia Control Panel settings.
This guide will take you step by step through the best Nvidia Control Panel settings for the RTX 5080, balancing performance and visuals for gaming, content creation, and professional workloads. Whether you’re aiming for maximum FPS in esports titles or jaw-dropping cinematic visuals in AAA games, these tweaks will help you achieve the best experience possible.

Why Nvidia Control Panel Settings Matter
While Nvidia drivers come with decent defaults, the Control Panel gives you direct access to GPU behavior. With the right adjustments, you can:
- Reduce latency in competitive games
- Improve smoothness and frame consistency
- Enhance image sharpness with minimal performance loss
- Lower power usage when not gaming
- Maximize GPU efficiency in creative applications
The RTX 5080 is already one of the most powerful GPUs on the market, but correct settings can elevate your system performance by up to 15–20% in real use cases.
Step 1: Open Nvidia Control Panel
Before adjusting anything, make sure your drivers are updated. Nvidia frequently releases Game Ready Drivers optimized for the newest titles.
- Right-click on your desktop.
- Select Nvidia Control Panel.
- If you don’t see it, download the latest drivers from Nvidia’s official site.
Step 2: Global Settings for RTX 5080
Under Manage 3D settings, you can set global defaults. These will apply to all applications unless overridden.
Recommended Global Settings
- Image Sharpening: On – Sharpening 0.3, Ignore Film Grain 0.17.
- Ambient Occlusion: Performance.
- Anisotropic Filtering: 16x for maximum clarity in textures.
- Antialiasing – FXAA: Off (causes blur in modern games).
- Antialiasing – Mode: Application-controlled.
- Background Application Max Frame Rate: 30 FPS (saves power).
- CUDA – GPUs: All.
- DSR Factors: Off unless you want to downscale from higher resolutions.
- Low Latency Mode: On for most games, Ultra for esports.
- Max Frame Rate: Leave off (unless you want to cap to monitor refresh).
- Monitor Technology: G-SYNC Compatible (if supported).
- Multi-Frame Sampled AA (MFAA): Off.
- OpenGL Rendering GPU: RTX 5080.
- Power Management Mode: Prefer maximum performance.
- Preferred Refresh Rate: Highest available.
- Shader Cache Size: Unlimited.
- Texture Filtering – Quality: High performance.
- Texture Filtering – Anisotropic Sample Optimization: On.
- Texture Filtering – Negative LOD Bias: Allow.
- Texture Filtering – Trilinear Optimization: On.
- Threaded Optimization: Auto.
- Triple Buffering: Off (unless V-Sync is used).
- Vertical Sync: Off (use in-game or G-SYNC).
- Virtual Reality Pre-Rendered Frames: 1.
Step 3: Configure Display Settings
Navigate to Display → Change resolution.
- Resolution: Set to your monitor’s native (e.g., 2560×1440 or 3840×2160).
- Refresh Rate: Always select the highest supported (144Hz, 165Hz, or 240Hz).
- Output Color Depth: 10-bit if available, otherwise 8-bit.
- Output Color Format: RGB.
- Output Dynamic Range: Full.
G-SYNC Setup
If you have a G-SYNC or G-SYNC Compatible monitor:
- Go to Display → Set up G-SYNC.
- Enable for full-screen mode (or full screen and windowed).
- Apply settings.
Step 4: Adjust Scaling Settings
In Adjust desktop size and position:
- Scaling Mode: Aspect ratio.
- Perform Scaling On: GPU.
- Override scaling mode set by games and programs: Check this.
Step 5: Program-Specific Settings
Some games need exceptions. For example:
- Esports titles (Valorant, CS2, Fortnite):
- Low Latency Mode: Ultra
- Max Frame Rate: Cap at refresh rate
- Texture Filtering: High performance
- AAA cinematic titles (Cyberpunk 2077, Starfield):
- Low Latency Mode: On
- Power Management: Optimal power
- Texture Filtering: Quality
Step 6: GeForce Experience Game Filters (Optional)
If you use GeForce Experience, you can enhance visuals further:
- Clarity +10
- Sharpen +20%
- HDR Toning (if available)
This is optional but can make games look significantly better.
Step 7: RTX 5080 Specific Tips
The RTX 5080 introduces DLSS 4.0 and next-gen ray tracing cores. To maximize them:
- Always enable DLSS Quality in supported titles.
- Use Ray Reconstruction instead of traditional denoising.
- For 4K gaming, DLSS Balanced mode provides the best mix of sharpness and FPS.
- For 8K displays, DLSS Performance is required for smooth gameplay.
Step 8: Windows 11 & RTX 5080 Optimization
Outside of the Nvidia Control Panel, also check:
- Windows Game Mode: On.
- Hardware Accelerated GPU Scheduling (HAGS): On.
- Resizable BAR: Enable in BIOS if supported.
- Background apps: Disable unnecessary startup programs.
Step 9: Creative Workloads
For creators using Adobe Premiere Pro, Blender, or DaVinci Resolve:
- Power Management Mode: Prefer maximum performance.
- CUDA – GPUs: All.
- Texture Filtering: Quality.
This ensures faster renders, smoother scrubbing, and stable AI-based effects.

Performance Gains After Optimization
With optimized settings, users report:
- +15% FPS in esports titles (due to latency reduction)
- +10% smoother frame pacing in AAA games
- Sharper textures with minimal GPU overhead
- Reduced system stutters in both gaming and creative apps
Final Tips for RTX 5080 Users
- Update drivers regularly.
- Use Nvidia Reflex in supported esports games.
- Monitor temps with MSI Afterburner.
- Consider mild undervolting for cooler and quieter performance.
Closing Thoughts
The Nvidia GeForce RTX 5080 is a powerhouse GPU, but with the right Control Panel settings, you can push it beyond stock performance. Whether you’re a competitive gamer or a 4K content creator, tuning your settings ensures that every frame counts and every workflow runs smoothly.
🔔For more tutorials like this, consider subscribing to our blog.
📩 Do you have questions or suggestions? Leave a comment or contact us!
🏷️ Tags: Nvidia RTX 5080, Nvidia Control Panel settings, RTX 5080 optimization, best gaming settings, Nvidia GeForce Experience, G-SYNC, DLSS 4.0, ray tracing, Windows 11 optimization, esports performance
📢 Hashtags: #NvidiaRTX5080, #ControlPanelSettings, #GamingPerformance, #DLSS4, #RayTracing, #PCGaming, #EsportsFPS, #GeForceExperience, #Windows11Gaming, #NvidiaTips
Wrap-Up
Optimizing the Nvidia Control Panel for the RTX 5080 ensures you’re not just relying on raw power but harnessing it intelligently. With these settings, your games and creative projects will run smoother, look sharper, and perform at the highest possible level.
Only logged-in users can submit reports.
Discover more from HelpZone
Subscribe to get the latest posts sent to your email.

