⏲️ Estimated reading time: 7 min
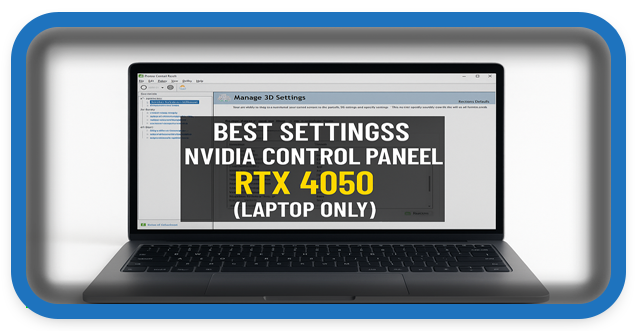
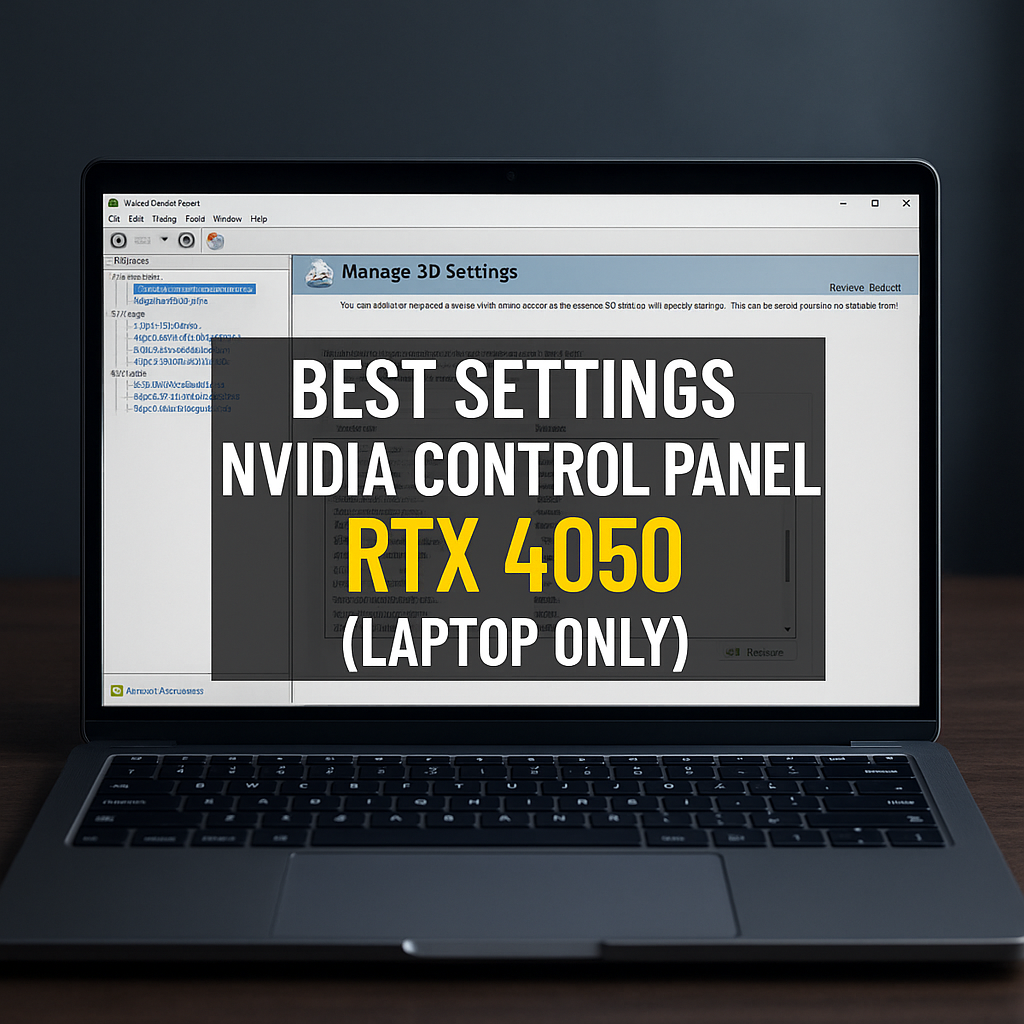
⚡ How To Make Best Settings Nvidia Control Panel RTX 4050 (Laptop Only)
Best Nvidia Control Panel Settings RTX 4050 Laptop
Learn how to optimize your Nvidia Control Panel settings for the RTX 4050 laptop GPU. This detailed guide covers performance, image quality, gaming tweaks, and battery-friendly configurations, helping you unlock the true potential of your graphics card.
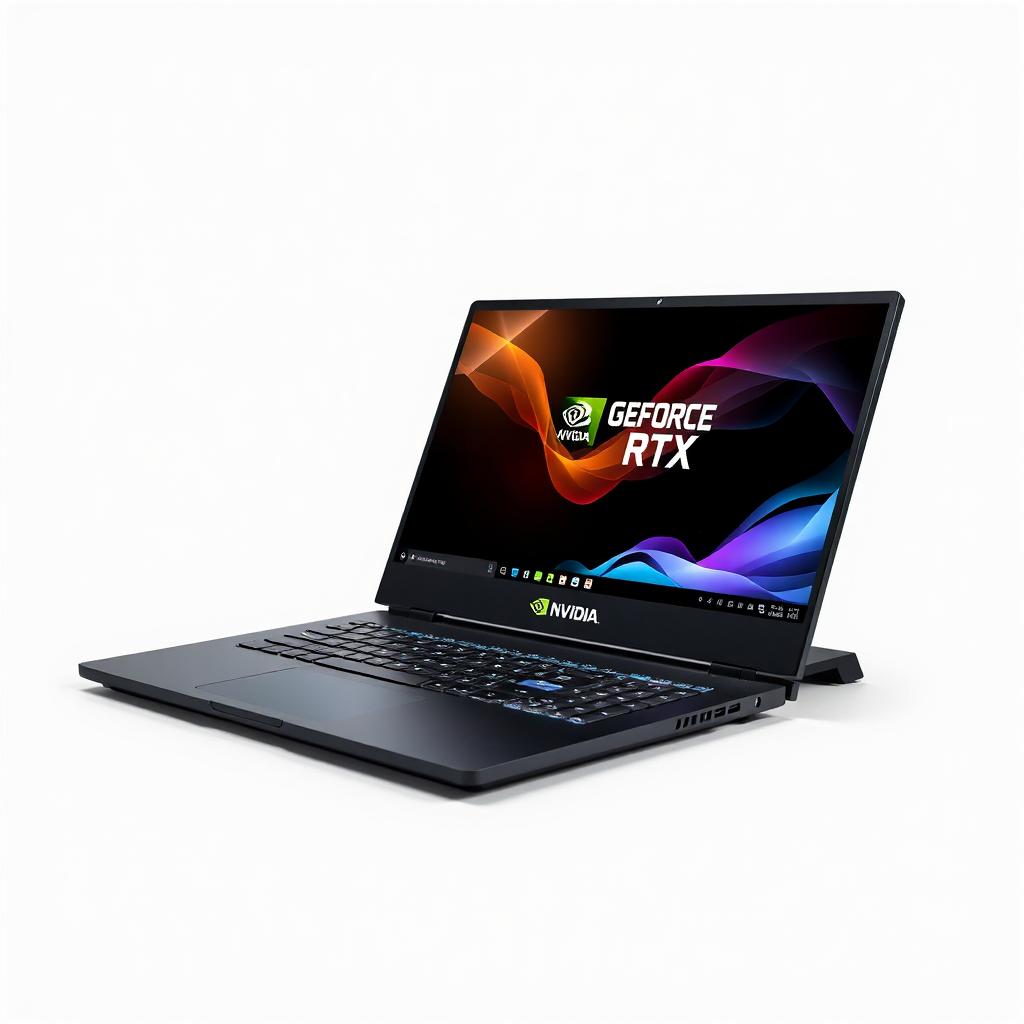
Nvidia GeForce RTX 4050 laptop GPU
The Nvidia GeForce RTX 4050 laptop GPU is one of the most exciting mid-range graphics solutions available in 2023 and 2024 laptops. Built on Nvidia’s Ada Lovelace architecture, the mobile RTX 4050 brings advanced features like DLSS 3, Ray Tracing, and improved efficiency to compact and portable gaming notebooks.
But here’s the truth: out of the box, your laptop isn’t always optimized for the best balance of performance, visual quality, and battery life. Nvidia gives you a powerful tool in the form of the Nvidia Control Panel and with the right tweaks, you can squeeze every bit of performance and image clarity from your RTX 4050 laptop.
In this guide, we’ll cover:
- The best global settings for gaming.
- Specific 3D settings adjustments to boost FPS.
- Image scaling and sharpening for better clarity.
- Display and video settings for smoother visuals.
- Battery-friendly optimizations when you’re away from power.
By the end, your laptop will run faster, cooler, and with more consistent performance across your favorite games.
Why Nvidia Control Panel Settings Matter
Nvidia Control Panel (NCP) is often underestimated by casual gamers. While GeForce Experience optimizes per-game profiles automatically, manual control in NCP gives you precision. This is especially important on laptops, where power efficiency and thermals are crucial.
For RTX 4050 laptops, properly adjusting settings means:
- Higher FPS in games (especially competitive titles like Valorant, CS2, Apex Legends).
- Better battery efficiency when unplugged.
- Sharper image quality thanks to Nvidia Image Scaling.
- Reduced input lag for esports players.
- More stable performance without stutters.
Step 1 – Accessing Nvidia Control Panel
Before tweaking, let’s open the control panel:
- Right-click on your desktop.
- Select Nvidia Control Panel.
- If it doesn’t show up, ensure you have the latest Nvidia drivers installed.
Tip: Keep drivers up to date using GeForce Experience or Nvidia’s official site. Laptops sometimes need OEM drivers, so check your manufacturer as well.
Step 2 – Global 3D Settings for RTX 4050 Laptop
Navigate to Manage 3D Settings > Global Settings. These will apply to all applications unless overridden.
Here are the recommended settings:
- Image Scaling: On (with sharpening around 20–30%). Great for boosting performance without losing quality.
- Anisotropic Filtering: Application-controlled (let the game decide).
- Antialiasing – FXAA: Off (blurry, outdated method).
- Antialiasing – Mode: Application-controlled.
- Background Application Max Frame Rate: 20 FPS (saves resources when multitasking).
- CUDA GPUs: All.
- DSR – Factors: Off (unless you want supersampling for older titles).
- Low Latency Mode: On (Ultra for competitive shooters).
- Max Frame Rate: Off (unless you want to cap FPS for thermals).
- Multi-Frame Sampled AA (MFAA): Off.
- OpenGL Rendering GPU: Select your RTX 4050 (not “Auto”).
- Power Management Mode: Prefer Maximum Performance (for gaming).
- Preferred Refresh Rate: Highest available.
- Shader Cache Size: Driver Default (or Unlimited if you have SSD space).
- Texture Filtering – Quality: High Performance.
- Threaded Optimization: Auto.
- Triple Buffering: Off (unless V-Sync is used).
- Vertical Sync (V-Sync): Off (or On if you prefer smoother visuals).
- Virtual Reality Pre-Rendered Frames: 1 (better latency for VR).
These tweaks give you the best FPS/quality ratio on laptops.
Step 3 – Per-Game Profiles
For some games, you might want different settings.
Example for competitive games (Valorant, CS2, Fortnite):
- Low Latency Mode: Ultra.
- Max Frame Rate: Limit to match display (e.g., 144 FPS for 144Hz).
- Texture Filtering – Quality: High Performance.
Example for AAA games (Cyberpunk 2077, Hogwarts Legacy):
- Low Latency Mode: On.
- Texture Filtering – Quality: Quality.
- DSR: On (for higher image fidelity if performance allows).
Step 4 – Adjusting Display Settings
Go to Display > Change Resolution:
- Resolution: Native (usually 1080p or 1440p depending on your laptop).
- Refresh Rate: Highest supported (120Hz, 144Hz, or 165Hz).
- Output Color Depth: 8 bpc (10 bpc if supported).
- Output Dynamic Range: Full.
Go to Display > Adjust Desktop Size and Position:
- Scaling Mode: Aspect ratio.
- Perform scaling on: GPU.
- Override scaling mode set by games/programs: On.
Step 5 – Nvidia Image Scaling & Sharpening
NIS (Nvidia Image Scaling) is perfect for laptops, since it allows you to render games at lower resolution while upscaling and sharpening.
- Enable in Global Settings.
- Set sharpening between 20–30%.
- Use it when struggling to maintain stable FPS in demanding games.
Step 6 – Video Settings
Go to Video > Adjust Video Color Settings:
- Choose With Nvidia settings.
- Dynamic Range: Full (0–255).
- Gamma: Slightly increase if games look too dark.
Go to Video > Adjust Video Image Settings:
- Use player settings (for compatibility).
Step 7 – Battery & Thermal Management
Since the RTX 4050 is in laptops only, balancing power is critical:
- On battery, switch Power Management Mode to Optimal Power.
- Cap FPS at 60 FPS to conserve energy.
- Use Windows Battery Saver alongside NCP tweaks.
- Undervolt your GPU/CPU with tools like MSI Afterburner for cooler performance.
Step 8 – Windows & Game Integration
NCP settings alone aren’t enough. Combine with Windows tweaks:
- Set Windows Power Plan to High Performance.
- Enable Game Mode in Windows.
- Disable background apps when gaming.
- Use DLSS in supported titles for massive FPS boosts.
Benchmarking Your Settings
After applying these tweaks:
- Run a demanding game (Cyberpunk, Shadow of the Tomb Raider).
- Use MSI Afterburner or HWinfo to track FPS, temperatures, and GPU utilization.
- Compare before/after settings.
You’ll notice:
- FPS gains of 10–25% in many games.
- Lower frame drops and stutter.
- Sharper visuals with NIS sharpening.
Common Mistakes to Avoid
- Leaving V-Sync On globally (causes lag).
- Using DSR unnecessarily (hurts performance on laptops).
- Forgetting to set Refresh Rate to highest available.
- Overusing Max Frame Rate cap, which can cause input delay.
Future Proofing RTX 4050 Settings
The RTX 4050 laptop GPU will remain relevant for years, but you can future-proof by:
- Updating drivers regularly.
- Using DLSS 3 Frame Generation where supported.
- Keeping your laptop on a cooling pad to reduce throttling.
- Considering RAM upgrades (16GB+) for smoother performance.
Final Thoughts
The Nvidia RTX 4050 laptop GPU is powerful, but only when configured correctly. Nvidia Control Panel settings give you the control to maximize FPS, reduce lag, and balance performance with power efficiency.
If you follow this guide, your laptop will deliver the best gaming and productivity experience possible.
🔔 For more tutorials like this, consider subscribing to our blog.
📩 Do you have questions or suggestions? Leave a comment or contact us!
🏷️ Tags: Nvidia Control Panel, RTX 4050 laptop, gaming optimization, Nvidia settings, laptop GPU tweaks, DLSS 3, ray tracing RTX 4050, gaming laptops, Nvidia Image Scaling, FPS boost guide
📢 Hashtags: #NvidiaRTX4050, #LaptopGaming, #NvidiaSettings, #GamingOptimization, #DLSS3, #RayTracing, #PCGaming, #FPSBoost, #GamingLaptop, #NvidiaGuide
Wrap-Up
With the right Nvidia Control Panel settings, your RTX 4050 laptop transforms from a good gaming machine into a high-performance powerhouse. Whether you’re an esports player chasing every FPS or a casual gamer who wants smoother visuals, these tweaks will unlock the full potential of your GPU.
Only logged-in users can submit reports.
Discover more from HelpZone
Subscribe to get the latest posts sent to your email.