

⏲️ Estimated reading time: 6 min
Table of Contents
Google Reader Revenue Manager Step-by-Step Guide for WordPress Publishers. Google Reader Revenue Manager (RRM) is a tool that helps publishers monetize content with subscriptions, memberships, and contributions. This complete guide walks you through setting up RRM in Publisher Center and integrating it into your WordPress site.
Why Google Reader Revenue Manager Matters
Monetization is one of the biggest challenges for modern publishers. Whether you run a news site, a lifestyle blog, or a niche community platform, generating sustainable income from readers can be complex. Traditional models like banner ads or affiliate marketing often have limitations.
That’s where Google Reader Revenue Manager (RRM) comes in. This free tool from Google allows publishers to set up subscriptions, memberships, and one-time contributions directly within their ecosystem. Once configured, your offers appear not only on your website but also across Google products such as Google News and Google Search.
For WordPress publishers, this is an excellent opportunity to monetize quality content without relying solely on ads.
In this article, you’ll learn:
- What RRM is and how it works
- The full setup process inside Publisher Center
- How to enable Reader Revenue Manager
- How to integrate “Subscribe with Google” into WordPress
- Best practices for pricing, paywalls, and subscriber growth
By the end, you’ll have a practical roadmap to start earning directly from your audience using Google’s trusted payment system.
🔹 Step 1: Access Reader Revenue Manager
The first step is to access the platform.
- Visit Google Reader Revenue Manager.
- Log in with the Google account linked to your publication.
You’ll be redirected to Publisher Center, Google’s central hub for managing news and publishing products.
Why this step matters
Google requires that your website and publication be verified. This ensures only legitimate publishers can use RRM. If your site isn’t yet verified in Google Search Console, you’ll need to do that before continuing.
🔹 Step 2: Create a Publication in Publisher Center
If you don’t already have one, you’ll need to set up a publication profile in Publisher Center.
Here’s how:
- In Publisher Center, click “Add publication”.
- Fill in the following details:
- Publication name – The public name your readers will see.
- Primary language – The main language of your content.
- Location – Your country or region.
- Website URL – Must be verified in Google Search Console.
- Category – Select from options like News, Lifestyle, Finance, Sports, Technology, etc.
- Add branding elements:
- A logo (square format, transparent background recommended).
- A cover image (used across Google platforms).
- A favicon or small icon for mobile.
- Save and submit the publication.
📌 Note: Google will review your application. The review may take a few days, depending on demand.
Pro Tip for WordPress Sites
Use Yoast SEO or Rank Math to ensure your site structure is optimized before submitting. This improves your chances of being approved by Google.
🔹 Step 3: Enable Reader Revenue Manager
Once your publication is approved, you can enable monetization options.
You may also be interested in: When Motherhood Feels Lonely in a Relationship
- Inside Publisher Center, go to your publication and select Reader Revenue Manager.
- Choose your preferred revenue model:
- Contributions/Donations – Great for independent writers and nonprofits.
- Subscriptions – Ideal for news, magazines, or premium blogs.
- Memberships – Works for communities, learning platforms, and hybrid content.
- Set up offers & pricing:
- Monthly plans (e.g., $4.99/month).
- Yearly plans (e.g., $49.99/year with discount).
- Optional free trials (7–30 days).
- Connect your payment processor. Google uses Google Pay to handle reader payments securely.

🔹 Step 4: Integrate on Your WordPress Website
Now that you’ve set up offers, you need to integrate them into your website. This is where WordPress customization comes in.
1. Add “Subscribe with Google” button
Google provides a script to display a subscription button. You can insert it in your WordPress theme or use a plugin that allows adding code snippets.
Example integration code:
<script async src="https://news.google.com/swg/js/v1/swg.js"></script>
<script>
  (self.SWG = self.SWG || []).push(function() {
    self.SWG.configure({publicationId: 'your-publication-id'});
  });
</script>

<button onclick="self.SWG.subscribe('your-offer-id')">
  Subscribe with Google
</button>
- Replace
your-publication-idwith the ID from Publisher Center. - Replace
your-offer-idwith the pricing plan you set up.
2. Configure Paywalls
Decide how readers will interact with your premium content:
- Hard paywall – All premium content requires a subscription.
- Freemium model – Some articles are free, others require payment.
- Metered paywall – Readers get a limited number of free articles per month.
There are WordPress plugins like Leaky Paywall or MemberPress that work well with RRM integration.
3. Test the user flow
Before going live, simulate the reader’s experience:
- Can they see the subscription prompt?
- Is the payment process smooth?
- Can they log in and access premium content?
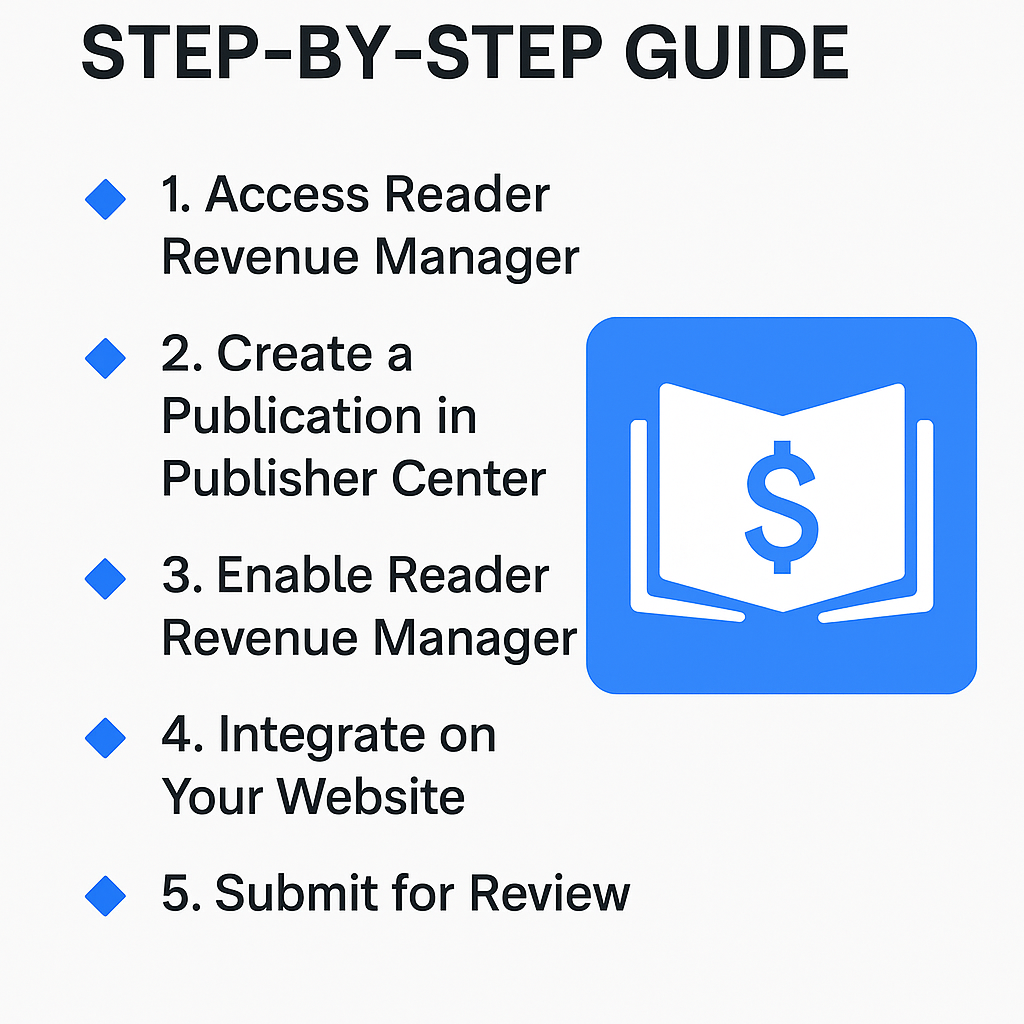
🔹 Step 5: Submit for Review
Once everything is configured, you’ll need Google’s final approval.
- Submit your monetization setup for review.
- Google verifies compliance with policies.
- Once approved, your Subscribe/Contribute options will appear across Google products.
Benefits of Using Reader Revenue Manager
- Built-in Google trust – Readers are more likely to subscribe when payments are processed via Google.
- Cross-platform visibility – Your subscription offers appear in Google News, Search, and Discover.
- Simple payments – Integration with Google Pay ensures fast and secure transactions.
- Better audience insights – You can see subscriber data, revenue reports, and churn rates.
- Flexible models – Choose between donations, memberships, and subscriptions depending on your content type.
Best Practices for WordPress Publishers
- Optimize content quality – Readers will only pay if the content is truly valuable.
- Segment offers – Create different tiers (basic, premium, VIP).
- Leverage free trials – Encourage readers to experience your premium content before committing.
- Promote inside articles – Add CTAs (“Subscribe for more exclusive insights”) at the end of blog posts.
- Track analytics – Use both Google Analytics and RRM reports to see what works.
Common Challenges and How to Overcome Them
- Low conversion rates – Test pricing and highlight benefits more clearly.
- Technical integration issues – Use plugins like “Insert Headers and Footers” to add scripts easily.
- Reader skepticism – Offer sample premium articles and transparent refund policies.
Section Renamed: Final Thoughts
Google Reader Revenue Manager is one of the most powerful tools publishers can use in 2025 to monetize content in a sustainable way. Unlike traditional ads, which depend on impressions and clicks, subscriptions and contributions build direct relationships with readers.
For WordPress publishers, integration is straightforward, especially with Google handling the payment side. Once you follow the steps above create your publication, enable monetization, set up offers, integrate the Subscribe with Google button, and get approval you’ll have a robust reader revenue system in place.
If you’re serious about building a loyal paying audience, now is the perfect time to get started.
🔔 For more tutorials like this, consider subscribing to our blog.
📩 Do you have questions or suggestions? Leave a comment or contact us!
🏷️ Tags: Google Reader Revenue Manager, WordPress monetization, Subscribe with Google, Publisher Center, Google Pay, reader subscriptions, online revenue, membership models, paywall setup, blogging income
📢 Hashtags: #GoogleRRM, #WordPress, #BloggingTips, #Monetization, #SubscribeWithGoogle, #PublisherCenter, #DigitalRevenue, #ContentMonetization, #OnlinePublishing, #GooglePay
