


⏲️ Estimated reading time: 6 min
Table of Contents
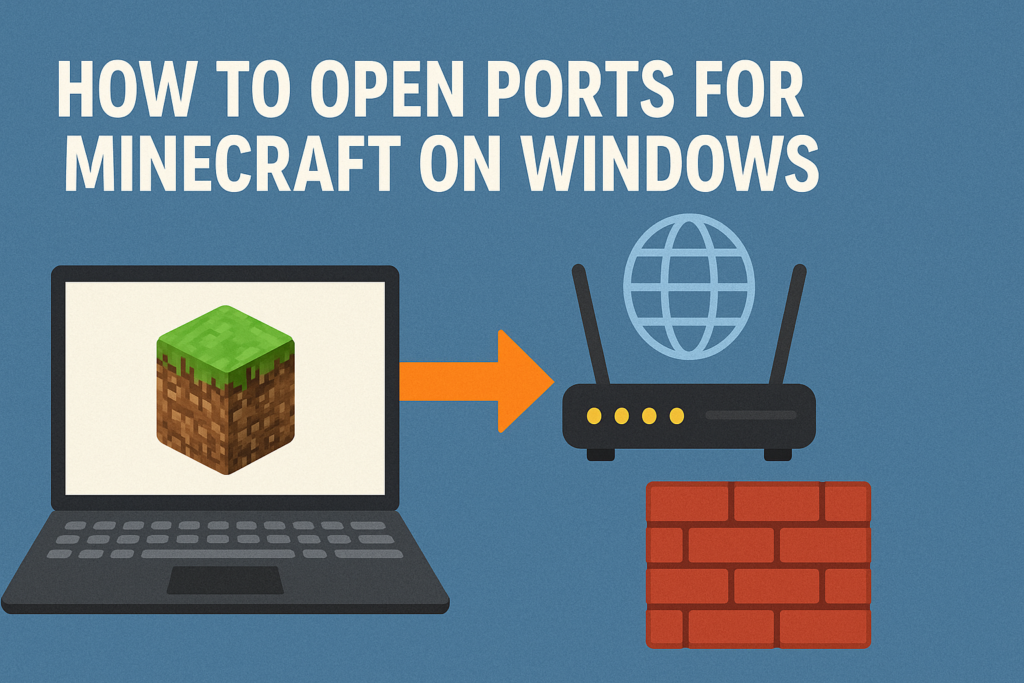
How to Open Ports for Minecraft on Windows. Opening ports for Minecraft on Windows ensures smoother online gameplay and server hosting. This guide explains step-by-step how to configure port forwarding, adjust firewall settings, and troubleshoot common issues so you and your friends can enjoy lag-free multiplayer sessions.
Open Ports for Minecraft
Minecraft is one of the most popular sandbox games ever created, enjoyed by millions of players worldwide. While single-player mode is fun, the real magic happens when you play multiplayer. Hosting your own Minecraft server on Windows lets you create custom worlds, invite friends, and explore together. However, for your server to be accessible online, you must configure your system to allow external connections. This process is called port forwarding or opening ports.
In this comprehensive tutorial, we’ll walk through everything you need to know about opening ports for Minecraft on Windows. We’ll cover the basics of ports, why Minecraft uses them, how to configure the Windows Firewall, router settings, and troubleshooting steps.
What Are Ports and Why Do They Matter in Minecraft?
Before we dive into the steps, it’s important to understand the concept of ports.
- Ports act as virtual doors that allow data to travel between your computer and the internet.
- Each application or service uses specific ports to send and receive information.
- Minecraft servers typically use port 25565 for Java Edition.
If this port is closed or blocked by a firewall, your friends won’t be able to connect to your server. By opening the correct ports, you’re essentially telling Windows and your router, “Allow traffic for Minecraft to pass through here.”
Requirements Before Opening Ports
To avoid problems, make sure you have the following ready:
- A stable internet connection – preferably wired for hosting.
- Access to your router settings – often done via a browser at 192.168.0.1 or 192.168.1.1.
- Administrator privileges on your Windows computer.
- Minecraft server files – either the official
.jarfile for Java Edition or a modded server version. - Your local IP address – needed to forward the port correctly.
Step 1: Find Your Local IP Address
- Press Windows + R, type
cmd, and press Enter. - In the Command Prompt, type:
ipconfig - Look for IPv4 Address under your active network adapter. Example:
192.168.1.105. - Write it down; you’ll need it for router configuration.
Step 2: Configure Windows Firewall
The Windows Firewall is designed to block unauthorized connections, but you’ll need to create a rule to allow Minecraft traffic.
How to Add a Firewall Rule
- Press Windows key, type Windows Defender Firewall, and open it.
- On the left panel, click Advanced settings.
- In the new window, click Inbound Rules.
- Select New Rule… from the right sidebar.
- Choose Port and click Next.
- Select TCP, then type
25565. - Choose Allow the connection, then click Next.
- Select all three options (Domain, Private, Public) and click Next.
- Name the rule “Minecraft Server TCP” and click Finish.
- Repeat the same process, but this time select UDP and create another rule.
This ensures both TCP and UDP traffic can reach your Minecraft server.
Step 3: Log In to Your Router
Now comes the crucial step: port forwarding through your router.
- Open your browser and type your router’s IP (often 192.168.1.1).
- Log in with your router credentials (check the back of the device if unsure).
- Find the section for Port Forwarding, Virtual Server, or NAT.
Step 4: Create a Port Forwarding Rule
- Add a new port forwarding entry.
- For Service Name, type
Minecraft. - Set Port Range or External Port to
25565. - Set Internal IP Address to your computer’s IPv4 (from Step 1).
- Set Protocol to Both (TCP/UDP).
- Save the changes.
- Restart your router.
Now, your router knows to send Minecraft traffic to your computer.
Step 5: Test the Connection
To confirm your ports are open:
- Start your Minecraft server.
- Go to canyouseeme.org.
- Enter
25565and click Check Port. - If successful, your server is accessible.
Step 6: Share Your Public IP Address
For others to connect to your server, you must share your public IP address.
- Visit whatismyip.com.
- Copy the IPv4 address shown.
- Share it with your friends (example:
123.45.67.89:25565).
Common Issues and Troubleshooting
Even after port forwarding, problems can arise. Here are solutions:
1: Friends Can’t Connect
- Double-check that port forwarding is correct.
- Verify that your local IP hasn’t changed. Set a static IP in Windows to prevent this.
2: Firewall Blocking
- Recheck inbound rules.
- Temporarily disable antivirus software to test.
3: ISP Restrictions
Some internet providers block incoming connections. You may need to call your ISP or use a VPN with port forwarding.
Problem 4: Wrong IP Address
- Always give your friends your public IP, not your local one.

Advanced Tips for Minecraft Port Forwarding
- Set a Static IP
- Go to Control Panel → Network and Sharing Center → Adapter Settings → IPv4 Properties → Set manual IP.
- Use Dynamic DNS (DDNS)
- If your public IP changes frequently, use a DDNS service (like No-IP) to give friends a constant hostname.
- Host on a Dedicated Machine
- Running Minecraft on a separate PC improves performance.
- Allocate More RAM
- Modify your server’s launch command to allocate additional memory for smoother gameplay.
Security Considerations
Opening ports can expose your computer to risks. To stay safe:
- Only open the ports you need.
- Keep your Minecraft server updated.
- Use strong admin passwords.
- Limit access to trusted friends.
- Monitor logs for unusual activity.
Alternative: Using a Hosting Service
If port forwarding feels too complex, you can rent a Minecraft server from a hosting company. These services handle security, uptime, and scaling for you. Popular hosts include Apex Hosting, Shockbyte, and Aternos (free option).
Final Thoughts
Opening ports for Minecraft on Windows might seem technical, but with patience, anyone can do it. By configuring your firewall, setting up port forwarding on your router, and securing your system, you’ll create a stable server environment. Once complete, you and your friends can dive into epic adventures together without connection issues.
🔔For more tutorials like this, consider subscribing to our blog.
📩 Do you have questions or suggestions? Leave a comment or contact us!
🏷️ Tags: Minecraft ports, Windows port forwarding, Minecraft server setup, open port 25565, router port forwarding, Windows firewall Minecraft, multiplayer setup, Minecraft server hosting, gaming tutorial, Minecraft troubleshooting
📢 Hashtags: #Minecraft #Windows #Gaming #PortForwarding #ServerSetup #Multiplayer #MinecraftServer #TechTutorial #GamingSetup #Firewall
Read also: Kyiv Hit by Massive Russian Missile and Drone Strike
