

⏲️ Estimated reading time: 2 min
Table of Contents
How to Open Ports for Counter-Strike: Global Offensive (CS:GO) on Windows. Struggling with connection or lag issues in CS:GO? Learn how to open ports on your Windows PC to improve performance, reduce latency, and ensure smooth gameplay when hosting or joining matches.
Why Open Ports for Counter-Strike?
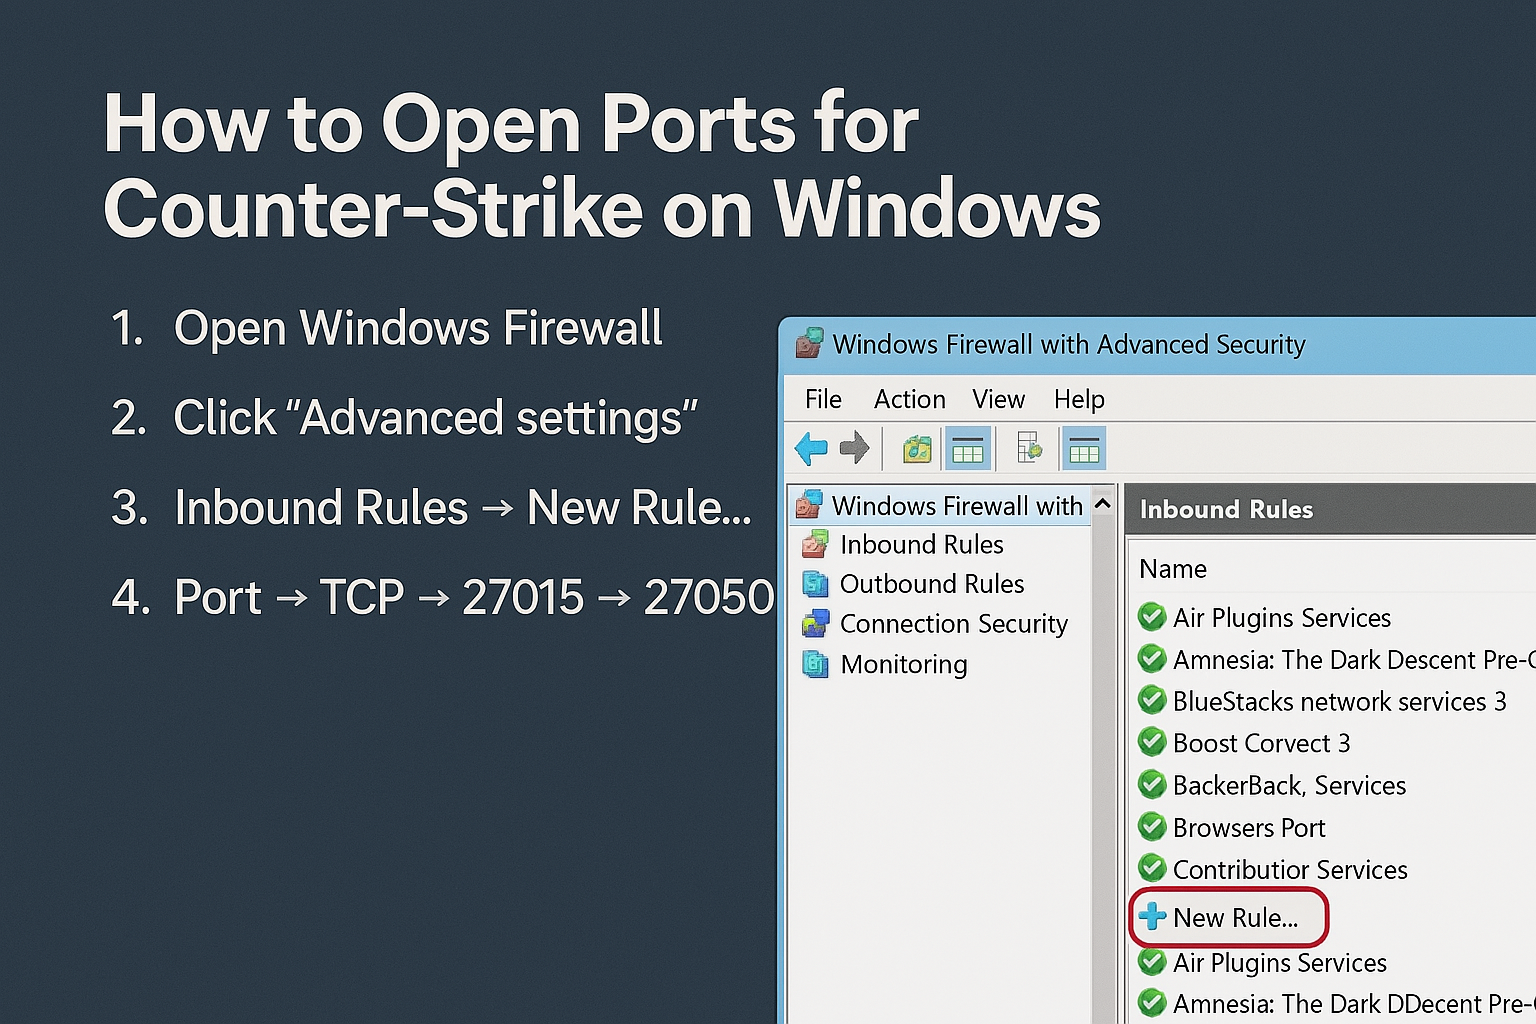
Opening specific ports for CS:GO helps bypass firewall restrictions and ensures stable connections between your PC and game servers. This is especially useful if you’re hosting matches or using third-party services like community servers.
Required Ports for Counter-Strike
Make sure these ports are forwarded on your router:
You may also be interested in: Top 5 Best CB Duos in Football (Ultimate Defensive
- TCP: 27015–27030, 27036–27037
- UDP: 4380, 27000–27031, 27036
These ports allow both game traffic and Steam services to function properly.
Step-by-Step: How to Open Ports for Counter-Strike on Windows
1. Find Your Local IP Address
- Press
Windows + R, typecmd, and press Enter. - Type
ipconfigand look for your IPv4 Address under your active network.
2. Access Your Router Settings
- Enter your default gateway (e.g.,
192.168.1.1) in a browser. - Log in using your router’s credentials.
3. Navigate to Port Forwarding Section
- Usually under Advanced, NAT, or Firewall settings.
- Add new entries with the CS:GO ports listed above.
4. Save and Reboot
- Save changes and reboot your router.
- Restart your PC and launch CS:GO.
Bonus: Allow CS:GO Through Windows Firewall
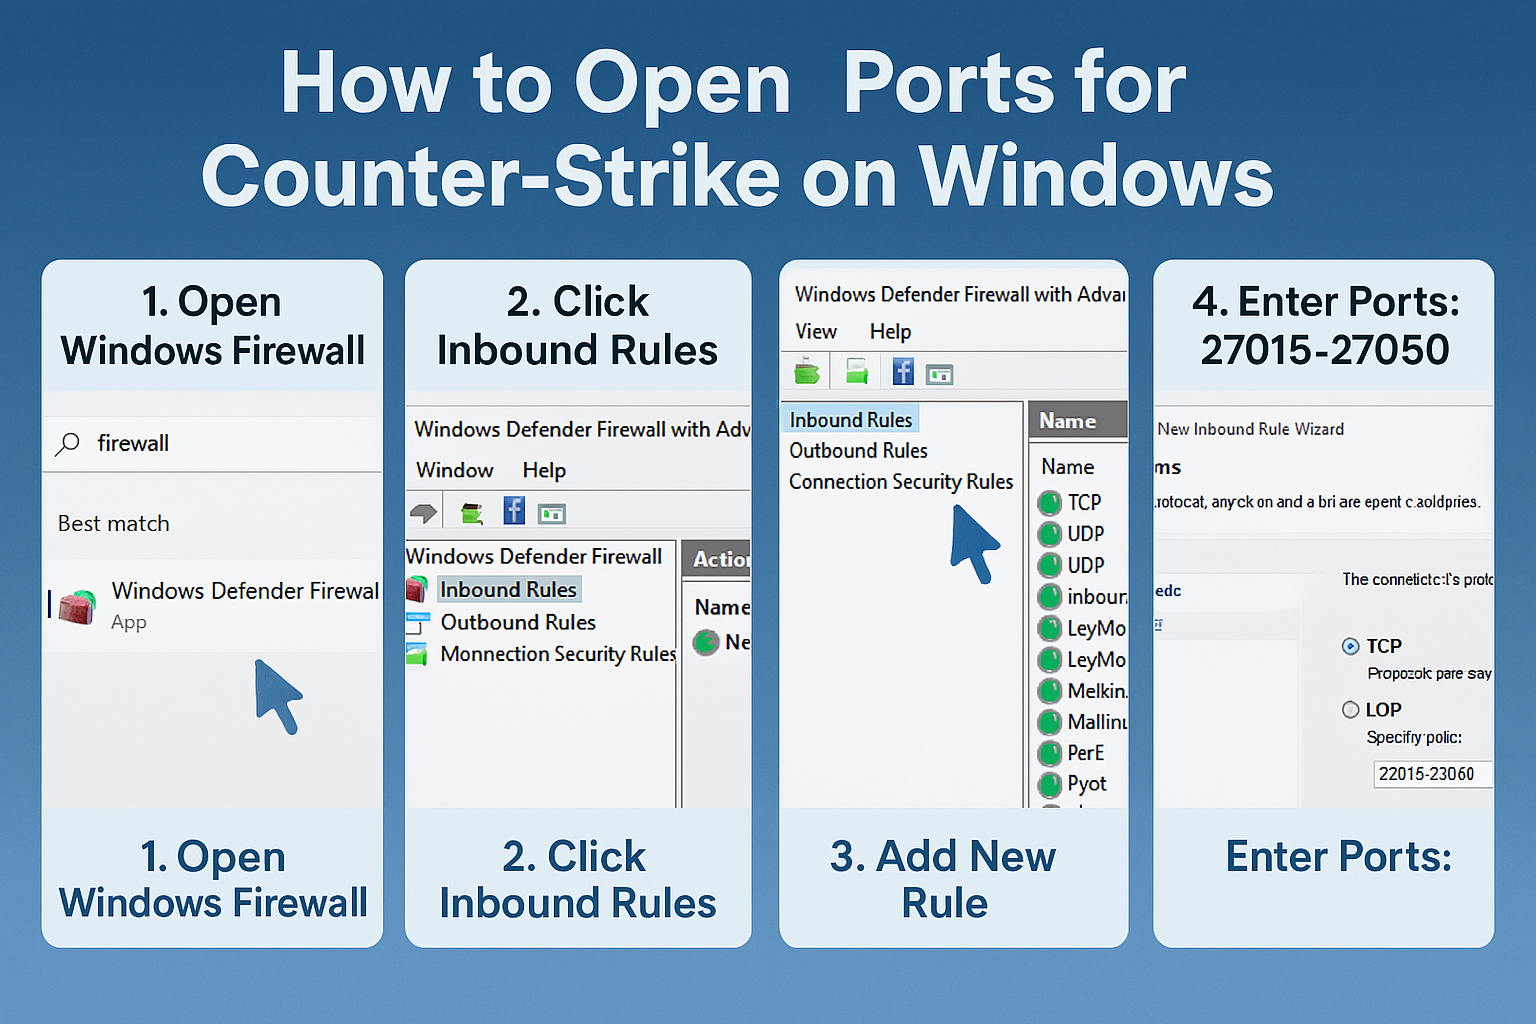
- Go to Control Panel > System and Security > Windows Defender Firewall.
- Click Allow an app through firewall.
- Ensure CS:GO and Steam are checked for both Private and Public networks.
Final Tips
- Use a static IP for your PC to keep port forwarding settings consistent.
- Double-check for typos in IP addresses and port ranges.
- Test using tools like PortChecker or in-game connectivity.
Tags: csgo ports, open ports windows, csgo connection fix, port forwarding csgo, csgo firewall settings, steam ports, how to port forward, csgo lag fix, windows 10 network, csgo online fix
