

⏲️ Estimated reading time: 6 min
Table of Contents
WP IP Login Ban – Block Hackers Automatically After Failed Login Attempts. Want to protect your WordPress site from brute-force attacks? Learn how to install and use the free WP IP Login Ban plugin, which blocks IPs after multiple failed login attempts and even shows banned IPs in your dashboard.
🛡️ WP IP Login Ban – Block IPs After Failed Logins
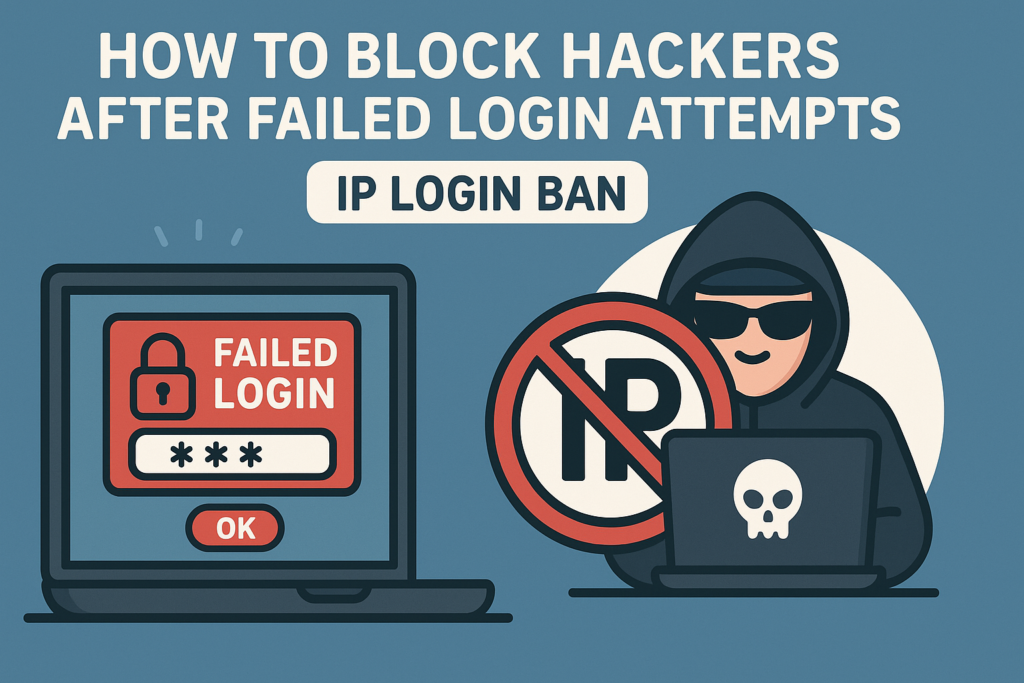
Security is a major concern for every WordPress website owner, and brute-force login attempts are among the most common threats. If someone tries to guess your password too many times, it could mean trouble. That’s where the WP IP Login Ban plugin steps in it automatically bans IPs after a series of failed logins and displays them in your WordPress Dashboard.
Let’s walk through the entire process from installation to configuration, even if you’re a complete beginner.
🔧 What Does the Plugin Do?
Before we dive into installation, here’s what the plugin offers:
- ⛔ Bans IPs after 5 failed login attempts.
- 🔄 Automatically unbans them after 15 minutes.
- 👀 Shows a table of banned IPs in your dashboard.
- 🔒 Uses WordPress’s
transientssystem (no database bloat). - 🚀 Lightweight and safe for beginners.
🗂️ How to Install WP IP Login Ban Plugin
Step 1: Download or Copy the Plugin
You can create this plugin manually by copying the code or request a .zip from the developer. To create the plugin manually:
- Open your WordPress file manager (via FTP or cPanel).
- Navigate to
wp-content/plugins. - Create a new folder:
wp-ip-login-ban. - Inside it, create a file:
wp-ip-login-ban.php. - Paste the full plugin code from the next section.
🧩 Plugin Code (Copy This)
Here’s the full plugin code to paste into your wp-ip-login-ban.php file:
<?php
/**
 * Plugin Name: WP IP Login Ban
 * Description: Bans IP addresses after too many failed login attempts and shows banned IPs on dashboard.
 * Version: 1.1
 * Author: HelpZone
 * License: GPL2
 */

defined('ABSPATH') || exit;

define('WP_IP_LOGIN_BAN_MAX_ATTEMPTS', 5);
define('WP_IP_LOGIN_BAN_DURATION', 15 * MINUTE_IN_SECONDS); // 15 minutes

function wp_ip_login_ban_get_ip() {
    return $_SERVER['REMOTE_ADDR'] ?? 'unknown';
}

function wp_ip_login_ban_is_banned($ip) {
    return get_transient("wp_ip_ban_$ip") ? true : false;
}

function wp_ip_login_ban_check($username) {
    $ip = wp_ip_login_ban_get_ip();
    if (wp_ip_login_ban_is_banned($ip)) return;

    $key = "wp_ip_fail_$ip";
    $fails = (int) get_transient($key) + 1;

    if ($fails >= WP_IP_LOGIN_BAN_MAX_ATTEMPTS) {
        set_transient("wp_ip_ban_$ip", true, WP_IP_LOGIN_BAN_DURATION);
        delete_transient($key);
    } else {
        set_transient($key, $fails, WP_IP_LOGIN_BAN_DURATION);
    }
}
add_action('wp_login_failed', 'wp_ip_login_ban_check');

function wp_ip_login_ban_block_banned() {
    $ip = wp_ip_login_ban_get_ip();
    if (wp_ip_login_ban_is_banned($ip)) {
        wp_die(__('You are temporarily banned due to too many failed login attempts. Try again later.', 'wp-ip-login-ban'));
    }
}
add_action('login_init', 'wp_ip_login_ban_block_banned');

function wp_ip_login_ban_dashboard_widget() {
    wp_add_dashboard_widget(
        'wp_ip_login_ban_widget',
        'Banned IP Addresses',
        'wp_ip_login_ban_widget_display'
    );
}
add_action('wp_dashboard_setup', 'wp_ip_login_ban_dashboard_widget');

function wp_ip_login_ban_widget_display() {
    global $wpdb;

    echo '<p><strong>Note:</strong> IP bans last for 15 minutes after 5 failed login attempts.</p>';
    echo '<table style="width:100%; border-collapse: collapse;">';
    echo '<thead><tr><th style="text-align:left;border-bottom:1px solid #ccc;">IP Address</th><th style="text-align:left;border-bottom:1px solid #ccc;">Time Left</th></tr></thead>';
    echo '<tbody>';

    $all_transients = $wpdb->get_results("SELECT option_name FROM $wpdb->options WHERE option_name LIKE '_transient_wp_ip_ban_%'");

    if ($all_transients) {
        foreach ($all_transients as $row) {
            $ip = str_replace('_transient_wp_ip_ban_', '', $row->option_name);
            $expiration = $wpdb->get_var(
                $wpdb->prepare(
                    "SELECT option_value FROM $wpdb->options WHERE option_name = %s",
                    '_transient_timeout_wp_ip_ban_' . $ip
                )
            );
            $time_left = $expiration - time();
            echo '<tr>';
            echo '<td>' . esc_html($ip) . '</td>';
            echo '<td>' . human_time_diff(time(), $expiration) . '</td>';
            echo '</tr>';
        }
    } else {
        echo '<tr><td colspan="2">No IPs are currently banned.</td></tr>';
    }

    echo '</tbody></table>';
}
🧪 How to Test the Plugin
After activation:
- Try logging in with the wrong password 5 times from the same IP.
- You’ll be locked out with a message.
- Go to the WordPress dashboard.
- You’ll see a new widget titled “Banned IP Addresses” showing your IP and time left until unban.
⚙️ Advanced Tips (Optional)
- Change
WP_IP_LOGIN_BAN_MAX_ATTEMPTSto 3 or 10 if needed. - Change the ban duration by adjusting the
15 * MINUTE_IN_SECONDSto a longer value (like60 * MINUTE_IN_SECONDSfor 1 hour). - You can use
define()at the top to create constants in yourwp-config.phpinstead, if needed.
🔔 For more tutorials like this, consider subscribing to our blog.
📩 Do you have questions or suggestions? Leave a comment or contact us!
🏷️ Tags: WordPress security, login protection, brute-force defense, ban IPs, failed login plugin, WP plugin tutorial, WordPress beginners, custom plugin, security widget, admin dashboard
📢 Hashtags: #WordPressSecurity, #LoginBan, #FailedLogins, #WPPlugin, #CustomPlugin, #WPBeginner, #BruteForceProtection, #IPBan, #WordPressTips, #DashboardWidget
🧭 Wrap-Up
You may also be interested in: Top 5 PUBG Players of All Time by Prize Money
Securing your WordPress login page is critical. With this lightweight and beginner-friendly plugin, you gain visibility into banned IPs and automate protection. No complicated setups. Just paste, activate, and monitor.
