


⏲️ Estimated reading time: 8 min
Table of Contents
Learn how to create a simple custom WordPress plugin that customizes your front page. This step-by-step guide covers setup, writing PHP code, adding styles, and activating your plugin to make your homepage stand out easily and professionally.
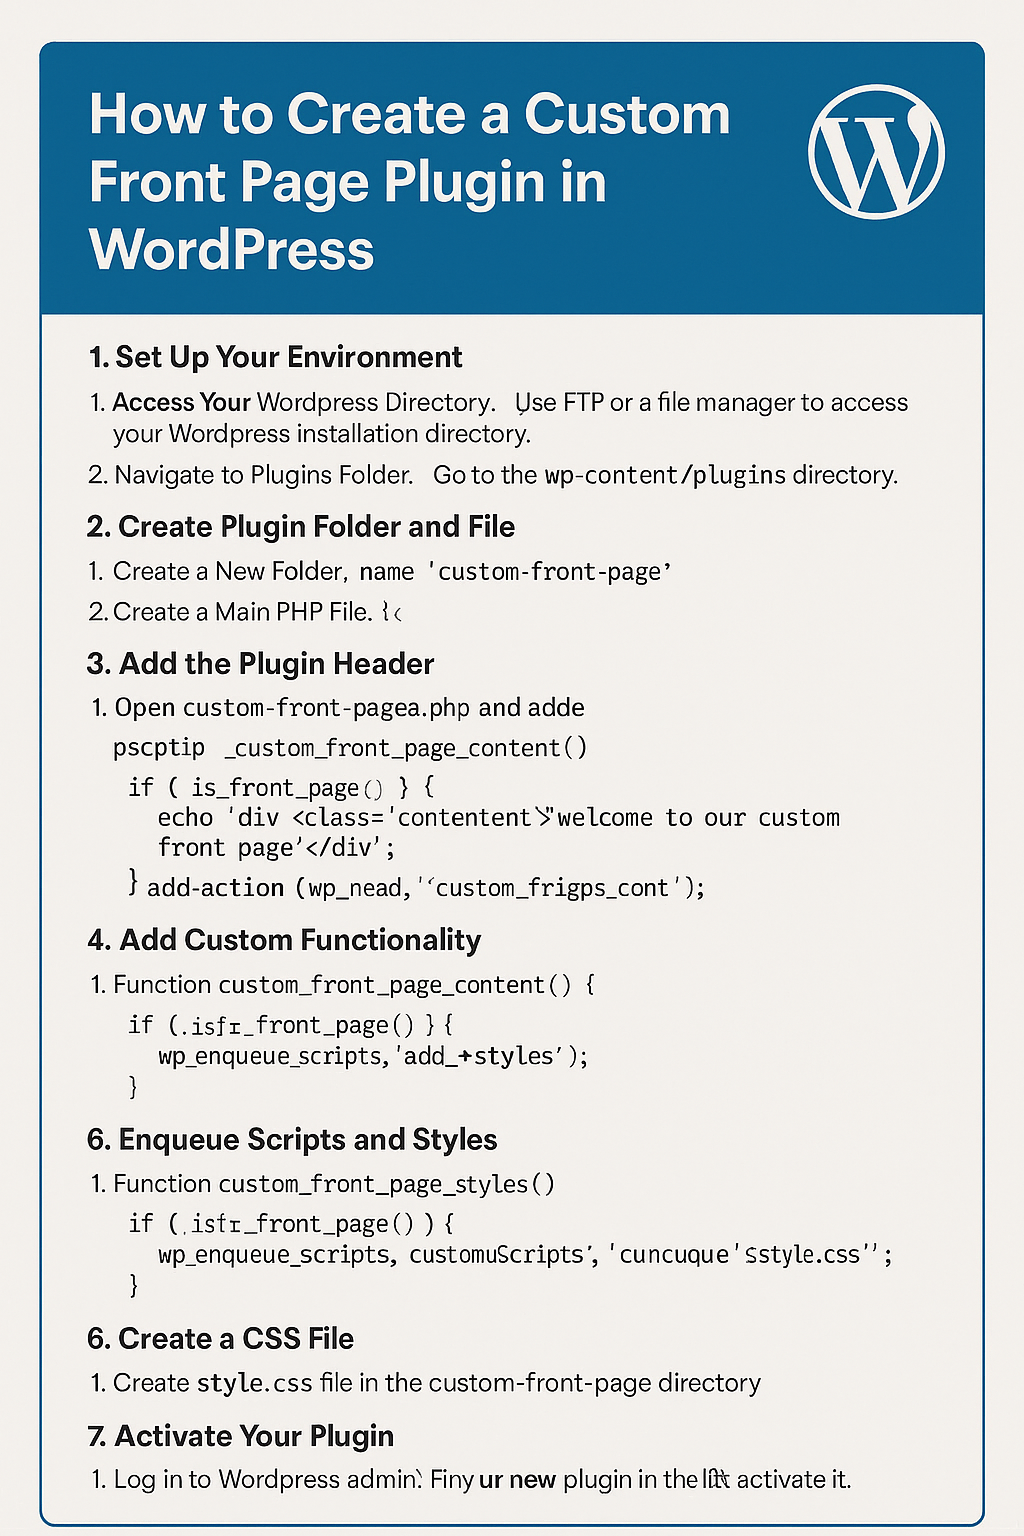
How to Create a Custom Front Page Plugin in WordPress
Creating a custom plugin for WordPress can give your website a unique touch without altering your theme files. Whether you want to change the homepage design, add custom text, or enhance functionality, a plugin is the cleanest and most efficient method.
Below, you’ll find a complete guide on how to create a basic plugin to customize your WordPress front page.
Step 1: Prepare Your WordPress Environment
Before writing any code, make sure you have access to your WordPress installation.
- Access Your WordPress Directory:
Use an FTP client or your hosting file manager to access the main directory where WordPress is installed. - Navigate to the Plugins Folder:
Go to thewp-content/pluginsdirectory. This is where all your WordPress plugins live.
This preparation step ensures you’re ready to create and manage your plugin in the right location.
Step 2: Create the Plugin Folder and Main File
Every plugin requires its own folder and a main PHP file.
- Create a New Folder:
Inside thepluginsdirectory, create a folder namedcustom-front-page. - Create the Main PHP File:
Inside this new folder, create a file calledcustom-front-page.php.
This file will serve as the entry point for your plugin. All your plugin’s logic and functionality will start here.
Step 3: Add the Plugin Header Information
Open the custom-front-page.php file in a code editor and insert the following header block:
<?php
/**
 * Plugin Name: Custom Front Page
 * Description: A plugin to customize the front page of your WordPress site.
 * Version: 1.0
 * Author: Your Name
 */

// Exit if accessed directly.
if ( ! defined( 'ABSPATH' ) ) {
    exit;
}
This header provides key details about your plugin. WordPress reads this information to display the plugin name, description, and author inside the Plugins page in your dashboard.
The security line if ( ! defined( 'ABSPATH' ) ) exit; ensures that the file can’t be accessed directly outside of WordPress.
Step 4: Add Custom Front Page Functionality
Now it’s time to create the main functionality that will change your front page.
You can add custom HTML or PHP logic inside a function and hook it into WordPress.
Here’s an example that displays a custom welcome message on your homepage:
function custom_front_page_content() {
    if ( is_front_page() ) {
        echo '<div class="custom-content">Welcome to our custom front page!</div>';
    }
}
add_action( 'wp_head', 'custom_front_page_content' );
This code uses the wp_head hook to insert a custom message into the front page. You can modify this to suit your design for instance, include sliders, videos, or special announcements.
Step 5: Add Custom Styles or Scripts
If your plugin needs extra design or interactivity, you can enqueue custom CSS and JavaScript files.
This ensures your styles are loaded properly and won’t interfere with other parts of your theme.
function custom_front_page_styles() {
    if ( is_front_page() ) {
        wp_enqueue_style( 'custom-front-page-style', plugins_url( 'style.css', __FILE__ ) );
    }
}
add_action( 'wp_enqueue_scripts', 'custom_front_page_styles' );
This snippet tells WordPress to load style.css when the visitor is on the front page.
You can also enqueue JavaScript files the same way using wp_enqueue_script() if you need them.
Step 6: Create and Style the CSS File
Now, create a file named style.css inside your plugin folder (custom-front-page).
Add the following example code:
.custom-content {
    background-color: #f0f0f0;
    padding: 20px;
    text-align: center;
    font-family: Arial, sans-serif;
    font-size: 18px;
    border-radius: 8px;
    color: #333;
}
This CSS will style the custom message we added earlier, giving it a soft gray background and centered text.
You can expand this stylesheet to include animations, layout changes, or even responsive behavior for different screen sizes.
Step 7: Activate Your Plugin from the Dashboard
Once you’ve finished writing your plugin, it’s time to activate it.
See also: How Prince William and Meghan Markle Are Both Included in
- Log In to WordPress Admin:
Go to your WordPress dashboard. - Navigate to Plugins > Installed Plugins:
Find “Custom Front Page” in the list. - Click Activate:
Once activated, your plugin will start working immediately.
After activation, your plugin’s code runs automatically whenever someone visits your website.
Step 8: Test and Customize
Now that your plugin is active, visit your site’s front page and check if your custom content appears.
If you see the “Welcome to our custom front page!” message, congratulations your plugin works!
You can further enhance it by:
- Adding admin options to toggle messages or styles.
- Including a settings page using
add_options_page(). - Adding shortcodes or widgets.
- Integrating dynamic data (e.g., recent posts, user greetings).
Your creativity defines the limits of your plugin.
Why Use a Plugin Instead of Editing Theme Files?
While it’s possible to modify the front page directly in your theme’s index.php or front-page.php, creating a plugin offers major benefits:
- Preserves changes even after theme updates.
- Reusability across multiple sites.
- Ease of activation/deactivation without touching theme files.
- Cleaner structure, following WordPress best practices.
This approach keeps your customizations modular and future-proof.
Common Mistakes to Avoid
Even a simple plugin can cause issues if not built carefully. Avoid these common pitfalls:
- Forgetting to Check Conditions:
Always wrap your functionality in conditionals likeis_front_page()to prevent it from running everywhere. - Hardcoding Paths:
Useplugins_url()andplugin_dir_path()for dynamic paths. - Skipping Security Checks:
Always check forABSPATHbefore executing plugin code. - Ignoring Proper Hooks:
Hook into the right actions and filters for your needs (e.g.,wp_head,wp_footer,template_redirect).
Expanding Your Plugin
Once your plugin works, you can expand its functionality. Some great enhancements include:
- Adding a custom admin menu where you can update front-page text or styles.
- Allowing users to upload their own front-page banner.
- Inserting widgets or shortcodes dynamically.
- Connecting APIs for dynamic front-page data (weather, crypto prices, etc.).
- Making the plugin multilingual using
__()and_e()functions.
Each improvement can make your plugin more flexible and user-friendly.
Best Practices for WordPress Plugin Development
If you plan to create more plugins, follow these essential best practices:
- Prefix all functions and variables:
Avoid naming conflicts with other plugins or themes. - Keep your code clean and documented:
Add comments explaining what each part does. - Use version control:
Tools like Git help track your changes safely. - Test in staging environments:
Always test before deploying to your live site. - Follow WordPress Coding Standards:
This ensures your code remains compatible with future updates.
Troubleshooting Tips
If your plugin doesn’t seem to work:
- Ensure it’s activated in the admin panel.
- Clear your browser cache and WordPress cache (if using caching plugins).
- Check for PHP errors in your server logs.
- Temporarily switch to a default theme like Twenty Twenty-Five to test compatibility.
- Disable other plugins one by one to find possible conflicts.
Once fixed, you can enjoy a personalized and optimized front page experience.
Frequently Asked Questions
1. Can I add images or sliders using this plugin?
Yes, you can include image sliders, banners, or dynamic content by extending your PHP function and adding the necessary CSS or JS files.
2. Is it safe to modify my front page this way?
Absolutely. Since your changes are inside a plugin, they won’t affect your theme or core WordPress files.
3. How can I remove my plugin’s changes?
Simply deactivate or delete the plugin from the WordPress admin panel. Your theme will revert to its default front page.
4. Do I need coding experience for this?
Basic PHP and WordPress knowledge helps, but the example provided is simple enough for beginners to follow step-by-step.
5. Can I upload this plugin to other sites?
Yes! Just zip the folder and upload it through the WordPress admin panel under Plugins → Add New → Upload Plugin.
Build Plugins, Build Freedom
Creating a plugin gives you freedom and control over your WordPress site. You can make targeted changes without touching your theme or relying on third-party tools.
Start small, experiment, and you’ll soon have a portfolio of custom plugins that truly make your websites stand out.
🔔 For more tutorials like this, consider subscribing to our blog.
📩 Do you have questions or suggestions? Leave a comment or contact us!
🏷️ Tags: WordPress plugin, custom front page, WordPress development, PHP plugin tutorial, beginner guide, plugin creation, wp-content plugins, coding for WordPress, plugin activation, WordPress customization
📢 Hashtags: #WordPress, #PluginDevelopment, #CustomFrontPage, #WordPressTutorial, #WebDevelopment, #PHP, #Coding, #WPPlugins, #BloggingTips, #WordPressDesign
