⏲️ Estimated reading time: 4 min
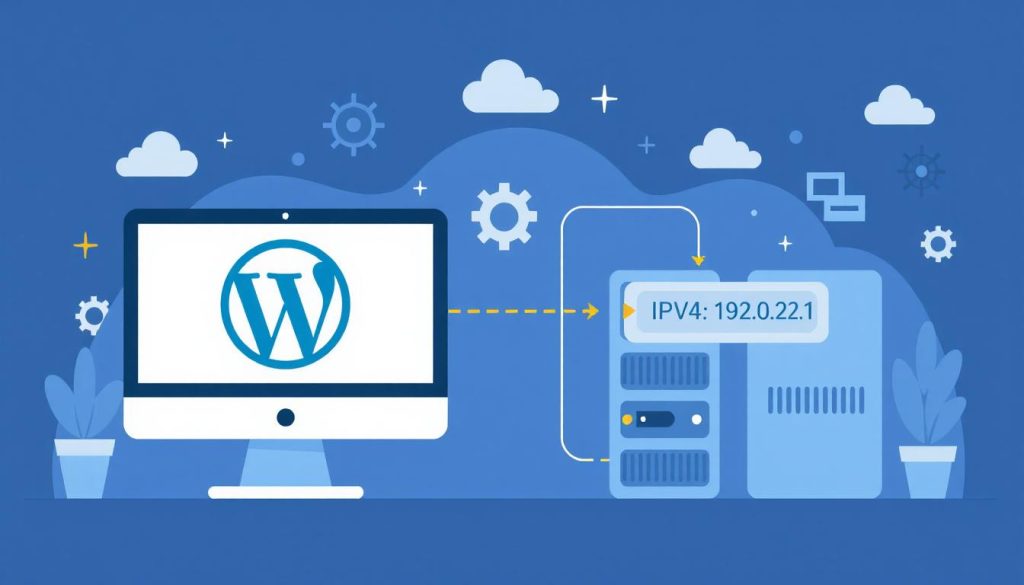
Moving your WordPress site to a new IPv4 address can improve server performance, fix network issues, or accommodate hosting changes. This guide walks you through each step to make the transition smooth, safe, and error-free.
Why You Might Need to Moving WordPress to a New IPv4 Address
There are several reasons you may want to move your WordPress site to a new IPv4 address:
- You’re switching web hosting providers.
- Your VPS or dedicated server has been assigned a new IP.
- Your IP is blocklisted or causing email deliverability problems.
- You’re optimizing server allocation for load balancing or performance.
Whatever the reason, handling the migration carefully is crucial to prevent downtime, broken links, or SEO damage.
Step 1: Before Moving WordPress, Backup Everything
Before you change anything, take a full backup of your WordPress site. This includes:
- Files (themes, plugins, uploads)
- The MySQL database
.htaccessandwp-config.phpfiles
You can use plugins like UpdraftPlus, All-in-One WP Migration, or do it manually via cPanel or SSH.
Step 2: Update DNS A Record
If you control your domain’s DNS settings, log in to your registrar (e.g., GoDaddy, Hostinger, Cloudflare) and:
- Locate the A record for your domain (e.g.,
example.com). - Change the IP address to the new IPv4 address.
- Save the changes and wait for DNS propagation (typically 5 minutes to 48 hours).
For domains managed by your hosting provider, request the DNS update via their support panel.
Step 3: Update Server Configuration
On your server (VPS or dedicated), ensure the new IP address is configured correctly:
Apache:
- Update
VirtualHostentries inhttpd.confor your site’s.conffile to the new IP.
<VirtualHost NEW.IP.ADDRESS:80>
  ServerName example.com
  DocumentRoot /var/www/html
</VirtualHost>
Nginx:
- Edit the server block configuration and bind it to the new IP:
server {
  listen NEW.IP.ADDRESS:80;
  server_name example.com;
  root /var/www/html;
}
Then restart the server:
sudo systemctl restart apache2
# or
sudo systemctl restart nginx
Step 4: Check Firewall and Hosting Panel
Ensure your firewall (like UFW, iptables, or CSF) allows traffic on the new IP.
If you use a control panel like cPanel, Plesk, or CyberPanel, update the IP in server settings or IP configurations to reflect the new IPv4.

Step 5: Update WordPress Settings (if needed)
Usually, WordPress does not care about the server IP. However, if you’re hardcoding IP addresses in your:
wp-config.php- Theme files
- Custom plugins
- CDN settings
Make sure to update all references from the old IP to the new one.
You can search your database using phpMyAdmin or a plugin like Better Search Replace to scan for the old IP.
Step 6: Test Your Site
Once the DNS has propagated:
- Visit your domain from multiple devices or via a proxy.
- Use tools like https://dnschecker.org to confirm DNS changes.
- Ping your domain and check if it resolves to the new IP.
- Test HTTPS functionality (SSL certificate may need to be reissued).
- Monitor error logs for any configuration issues.
Step 7: Notify Google and Update Tools
If your site had downtime or URL structure changes:
- Re-submit your sitemap in Google Search Console.
- Update IPs in Cloudflare, Sucuri, or CDN dashboards if applicable.
- Ensure analytics and monitoring services are pointing to the new IP.
Troubleshooting Tips
- Site not loading? Double-check DNS settings, Apache/Nginx config, and firewall.
- SSL issues? Reissue SSL via Let’s Encrypt or your certificate provider.
- Email stopped working? Update SPF/DKIM records for the new IP.
📩 Do you have questions or suggestions? Leave a comment or contact us!
🏷️ Tags: WordPress migration, IPv4 address, change IP WordPress, DNS setup, server configuration, cPanel, Cloudflare, WordPress hosting, VPS setup, move WordPress site
📢 Hashtags: #WordPressMigration, #IPv4, #DNSChange, #WebsiteHosting, #WordPressGuide, #WebHosting, #cPanelTips, #CloudflareDNS, #ServerAdmin, #TechTutorials
Only logged-in users can submit reports.
Discover more from HelpZone
Subscribe to get the latest posts sent to your email.

