⏲️ Estimated reading time: 4 min
How to Generate SSH Keys and Add Them to hPanel. Learn to generate SSH keys on Windows, Linux, or macOS and integrate them with Hostinger’s hPanel for secure, passwordless SSH access. This comprehensive guide covers every step to help you manage your server safely.
🔐 What Are SSH Keys?
SSH keys are a pair of cryptographic keys used for secure authentication between a client (your computer) and a server. The keys consist of:
- A private key, which remains safely stored on your local device.
- A public key, which is uploaded to the server.
When properly configured, SSH keys provide stronger security than traditional passwords and allow you to log in without entering a password every time.
🧰 Why Use SSH Keys with hPanel?
Hostinger’s hPanel provides SSH access, allowing you to manage your website’s backend using terminal commands. By using SSH keys instead of passwords:
- You eliminate the risk of brute-force attacks.
- You automate login without typing passwords.
- You improve server management efficiency for developers and administrators.
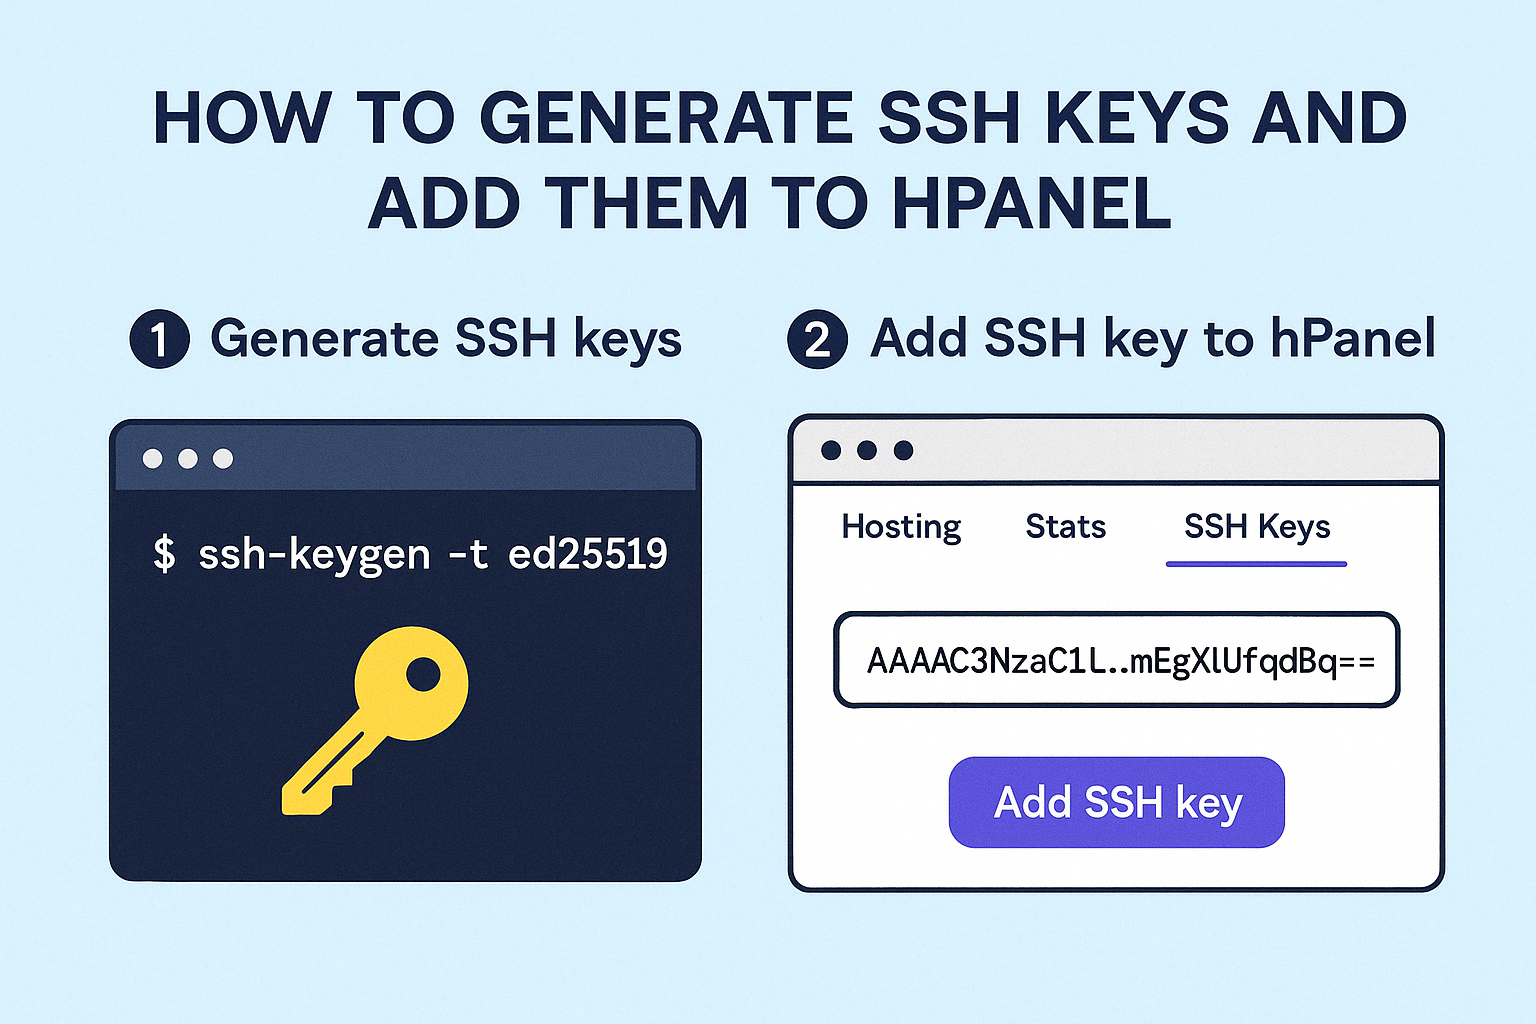
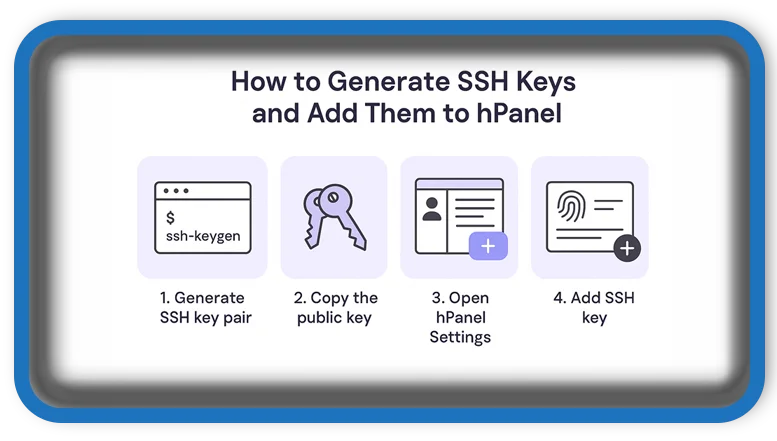
💻 Step 1: Generate SSH Keys on Your Computer
▶️ On Linux or macOS
Open the terminal and use the following command:
ssh-keygen -t rsa -b 4096 -C "your_email@example.com"-t rsa: Specifies RSA as the algorithm.-b 4096: Generates a 4096-bit key for stronger security.-C: Adds a comment to help identify the key.
You will be prompted to choose a location to save the key. Press Enter to save it in the default ~/.ssh/id_rsa.
You may also add a passphrase for extra security, or leave it blank for easier use.
📎 The key files created:
id_rsa: Your private key (keep this secret).id_rsa.pub: Your public key (safe to share).
▶️ On Windows (Using Git Bash)
- Install Git for Windows and launch Git Bash.
- Run the same
ssh-keygencommand as above. - Save the files in the default directory, usually
C:\Users\YourName\.ssh.
▶️ On Windows (Using PuTTYgen)
- Download and open PuTTYgen.
- Set parameters to:
- Type of key: RSA
- Number of bits: 4096
- Click Generate and move the mouse around to create entropy.
- After generating, save both the private key (
.ppk) and copy the public key from the interface.
📤 Step 2: Upload SSH Public Key to hPanel
Now that your SSH keys are generated, you’ll need to add the public key to your hPanel account.
Steps:
- Log into hPanel at hostinger.com.
- Navigate to Hosting and select the desired website/server.
- Scroll to the Advanced section and click SSH Access.
- Click on Add SSH Key.
- Open your
id_rsa.pubfile using a text editor. - Copy the entire contents (usually starting with
ssh-rsa) and paste it into the input field. - Optionally, name your key to recognize it later.
- Click Add Key.
Once saved, your public key is registered with the server.
✅ Step 3: Test the SSH Connection
Use your terminal or SSH client to test the connection. For example:
ssh username@hostnameReplace username with your hosting account username and hostname with the server’s IP or domain name.
If configured correctly, you’ll log in without being asked for a password (unless you used a passphrase for the private key).
🛡️ Best Practices for SSH Keys
- Never share your private key.
- Use a strong passphrase for extra protection.
- Backup your key files in a secure location.
- Change your key pair periodically for improved security.
- Use tools like
ssh-agentto manage keys efficiently.
By using SSH keys with Hostinger’s hPanel, you enhance your server’s security and streamline your workflow. Whether you’re deploying code, accessing files, or managing services, SSH key authentication is the modern, secure way to connect.
🏷️ Tags: SSH, Hostinger, hPanel, generate ssh key, secure login, linux ssh, windows ssh, ssh access, server management, web hosting
Only logged-in users can submit reports.
Discover more from HelpZone
Subscribe to get the latest posts sent to your email.