⏲️ Estimated reading time: 3 min
How to Open Ports in Windows Defender Firewall for Fortnite. Are you experiencing lag, disconnections, or matchmaking issues in Fortnite? Opening the right ports in your Windows Defender Firewall could be the solution! Fortnite, created by Epic Games, relies on specific TCP and UDP ports for smooth online gameplay. In this step-by-step guide, we’ll walk you through the process of configuring your firewall to optimize your gaming experience.
Step 1: Open Windows Defender Firewall
Let’s start by accessing your firewall settings:
- Press Windows + R to open the Run dialog box.
- Type control and press Enter to launch the Control Panel.
- Click on “System and Security”, then select “Windows Defender Firewall”.
Step 2: Access Advanced Settings
Once you’re in the firewall window:
- In the left sidebar, click “Advanced settings”.
- This opens the Windows Defender Firewall with Advanced Security interface.
Step 3: Create a New Inbound Rule
Now, let’s set up a rule for inbound traffic:
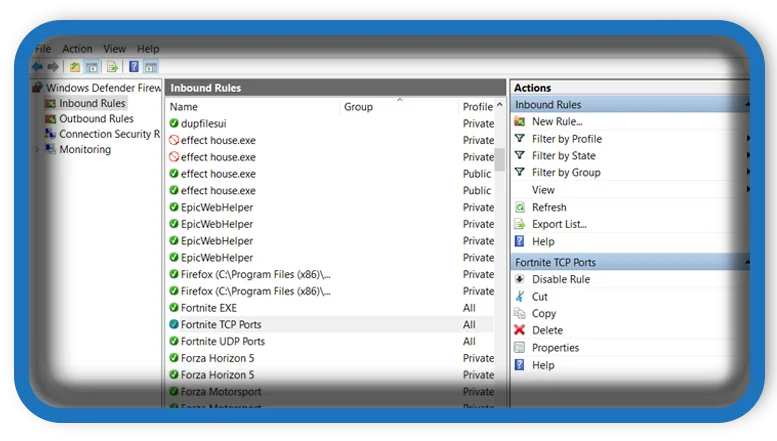
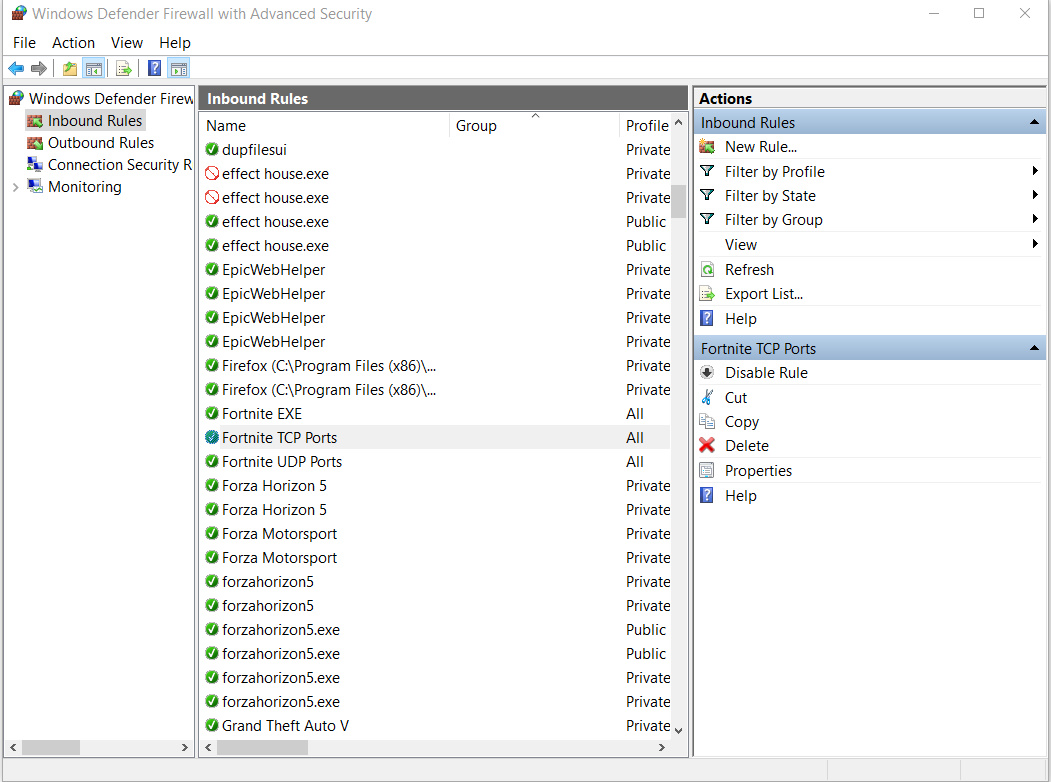
- In the left panel, click “Inbound Rules”.
- In the right panel, select “New Rule”.
Step 4: Select Port
In the rule creation wizard:
- Choose “Port” as the rule type and click “Next”.
Step 5: Specify Ports
Fortnite uses both TCP and UDP ports. Here’s what to enter:
- Select TCP and input these ports: 1935, 3478-3480, 5222, 5795-5847.
- Click “Next”.
- Repeat the process for UDP with these ports: 3478, 3479, 49152-65535.
- Click “Next” again.
Note: These ports handle matchmaking, voice chat, and gameplay services.
Step 6: Allow the Connection
Configure the rule to permit traffic:
- Choose “Allow the connection” and click “Next”.
Step 7: Choose Network Profiles
Decide when the rule applies:
- Select Domain, Private, or Public (or all three for flexibility).
- Click “Next”.
For most home users, selecting all profiles ensures the rule works on any network.
Step 8: Name Your Rule
Give your rule a clear identity:
- Enter a name like “Fortnite Inbound Ports”.
- Optionally, add a description such as “Ports for Fortnite connectivity”.
- Click “Finish”.
Step 9: Repeat for Outbound Rules
Fortnite needs two-way communication, so:
- Go to “Outbound Rules” in the Advanced Security window.
- Repeat the steps above using the same TCP and UDP port numbers.
Step 10: Test Your Connection
Time to see if it worked:
- Launch Fortnite and test online features like joining a match or using voice chat.
- If issues persist, double-check your port numbers or router settings (you might need to set up port forwarding).
Bonus Tips for a Smooth Experience
Still having trouble? Try these:
- Ensure your antivirus isn’t blocking Fortnite.
- Verify your internet connection is stable.
- Restart your PC after applying the rules to refresh settings.
By opening these ports, you’re setting up your system for Fortnite’s multiplayer demands, paving the way for uninterrupted gaming sessions.
Conclusion
Configuring your Windows Defender Firewall for Fortnite is a straightforward process that can significantly improve your online gameplay. Follow these steps, test your setup, and drop into the battle bus with confidence! Have questions or run into issues? Leave a comment below, and we we’ll help you out!
Tags: #Fortnite, #WindowsDefender, #FirewallSettings, #OpenPorts, #GamingTips, #NetworkFix, #UDPPorts, #TCPPorts, #TechHelp, #FortniteMultiplayer
Only logged-in users can submit reports.
Discover more from HelpZone
Subscribe to get the latest posts sent to your email.