⏲️ Estimated reading time: 3 min
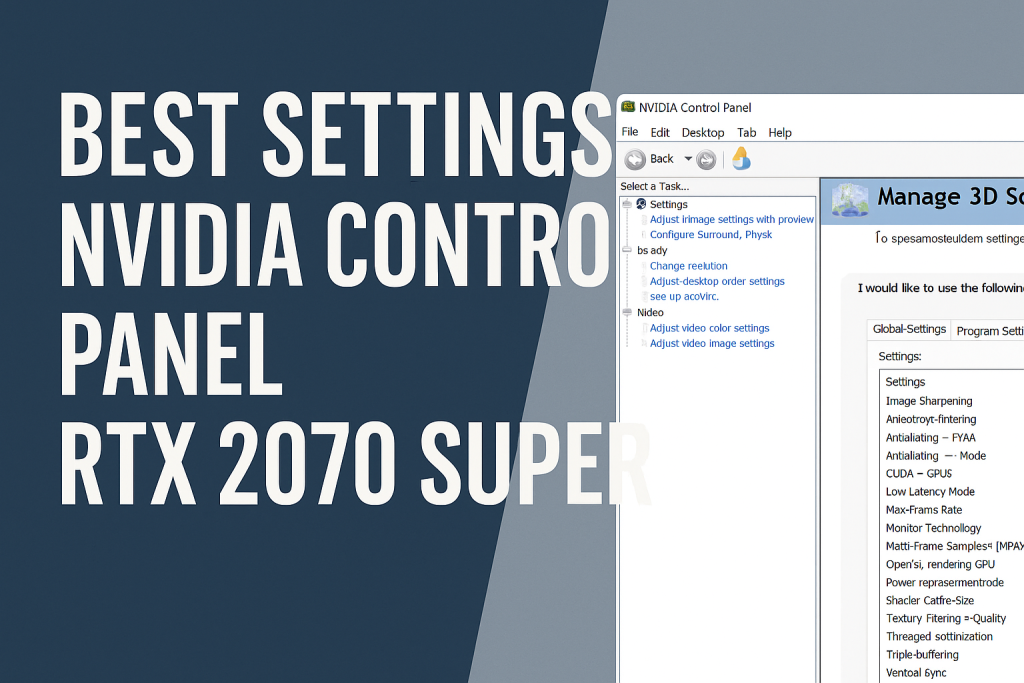
Best Settings Nvidia Control Panel RTX 2070 Super. Unlock the full power of your RTX 2070 Super by optimizing the Nvidia Control Panel settings. This detailed guide walks you through performance, image quality, and gaming tweaks to get the smoothest and most responsive experience possible.
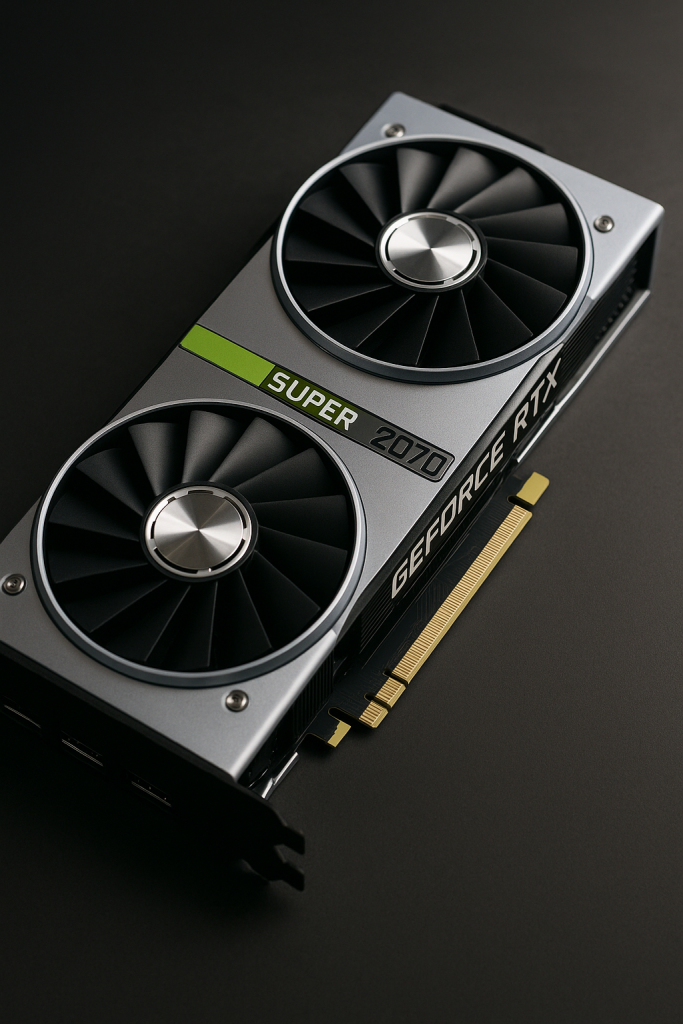
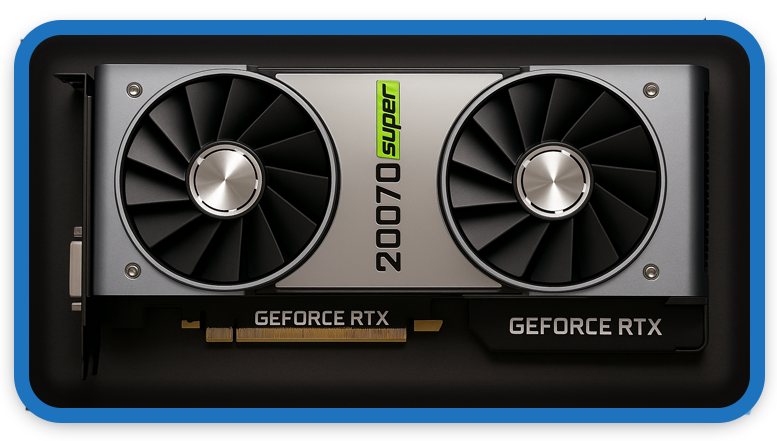
The Nvidia GeForce RTX 2070 Super remains a powerful GPU that balances performance and price, making it an excellent choice for high-resolution gaming and productivity. However, many users never adjust the Nvidia Control Panel settings, missing out on extra performance and visual clarity. In this guide, we’ll show you the best Nvidia Control Panel settings for the RTX 2070 Super to maximize FPS, improve stability, and optimize your gaming experience.
How to Access Nvidia Control Panel
Before we adjust anything, let’s access the panel:
- Right-click on your desktop.
- Select Nvidia Control Panel.
- If you don’t see it, reinstall the latest drivers from GeForce Experience or Nvidia’s website.
Global Settings for Performance
1. Adjust Image Settings with Preview
- Go to 3D Settings > Adjust Image Settings with Preview
- Select Use the Advanced 3D Image Settings
- Click Take me there
2. Manage 3D Settings
Here’s the recommended configuration for the RTX 2070 Super:
- Image Sharpening: Off (enable in-game if needed)
- Anisotropic Filtering: Application-controlled
- Antialiasing – FXAA: Off
- Antialiasing – Mode: Application-controlled
- CUDA GPUs: All
- Low Latency Mode: Ultra (for competitive gaming)
- Max Frame Rate: Off (use in-game FPS limiter if needed)
- Monitor Technology: G-Sync (if supported)
- Multi-Frame Sampled AA (MFAA): Off
- OpenGL Rendering GPU: Your RTX 2070 Super
- Power Management Mode: Prefer Maximum Performance
- Shader Cache Size: Driver Default
- Texture Filtering – Quality: High Performance
- Threaded Optimization: On
- Triple Buffering: Off (unless using V-Sync)
- Vertical Sync: Off (use in-game settings or G-Sync/FreeSync)
Display Settings
1. Change Resolution
- Go to Display > Change Resolution
- Select your monitor’s native resolution
- Refresh Rate: 144Hz / 165Hz / 240Hz (depending on your monitor)
2. Adjust Desktop Color Settings
- Digital Vibrance: Increase to 60–70% for richer colors.
3. Set Up G-Sync
If your monitor supports G-Sync:
- Go to Display > Set up G-Sync
- Enable Enable G-Sync, G-Sync Compatible
Specific Game Profiles
For competitive games like Fortnite, CS2, Valorant, Apex Legends:
- Enable Low Latency Mode = Ultra
- Disable V-Sync
- Use G-Sync + in-game FPS cap
For single-player, story-driven games:
- Power Management = Optimal Power
- Enable V-Sync (in-game) for smoother visuals
- Set Texture Filtering – Quality = High Quality

Extra Optimization Tips
- Always keep your GPU drivers updated via GeForce Experience.
- Use Windows Game Mode and disable unnecessary background apps.
- Pair with a high-refresh monitor for maximum smoothness.
- If streaming, adjust NVENC encoder settings in OBS to balance FPS and quality.

Final Thoughts
The RTX 2070 Super is still a beast for 1080p and 1440p gaming. By tweaking the Nvidia Control Panel, you unlock hidden performance and ensure a smooth gaming experience. Whether you prefer competitive shooters or immersive single-player adventures, these settings strike the right balance between FPS, responsiveness, and visuals.
🔔 For more tutorials like this, consider subscribing to our blog.
📩 Do you have questions or suggestions? Leave a comment or contact us!
🏷️ Tags: Nvidia RTX 2070 Super, Nvidia Control Panel settings, Best gaming settings, RTX optimization, 2070 Super performance, Nvidia tweaks, High FPS gaming, G-Sync settings, PC gaming tips, GPU performance boost
📢 Hashtags: #Nvidia #RTX2070Super #GamingPC #BestSettings #HighFPS #PCGaming #GraphicsCard #GSync #PerformanceBoost #GamingSetup
Only logged-in users can submit reports.
Discover more from HelpZone
Subscribe to get the latest posts sent to your email.

