⏲️ Estimated reading time: 5 min
cPanel Images: Modify and Manage Images That Are Saved to Your Accoun. Learn how to efficiently modify and manage images stored on your cPanel account. This guide walks you through using the cPanel Images tool, resizing images, converting file types, and optimizing your website performance. Ideal for beginners and experts alike.
Introduction to cPanel Image Management
When managing a website, especially one filled with visual content, handling images efficiently becomes critical. Fortunately, cPanel offers a built-in tool simply called “Images”, designed to help you modify, resize, convert, and manage images saved on your hosting account without needing complex software.
In this guide, we’ll explore everything you need to know about using the cPanel Images tool, making it easier to manage your media files directly from your web hosting dashboard.
What Is the cPanel Images Tool?
The Images tool in cPanel provides webmasters with essential utilities to work with images. These functions include:
- Thumbnail Creation: Quickly create smaller versions of your images for faster page loading.
- Image Scaling: Adjust the size of an image without losing quality.
- Image Conversion: Change an image from one format (e.g., PNG) to another (e.g., JPG).
With these options, you don’t need external programs like Photoshop or GIMP for basic image modifications everything happens inside your cPanel.
How to Access the Images Tool in cPanel
Getting started is very straightforward:
- Login to your cPanel account using your hosting credentials.
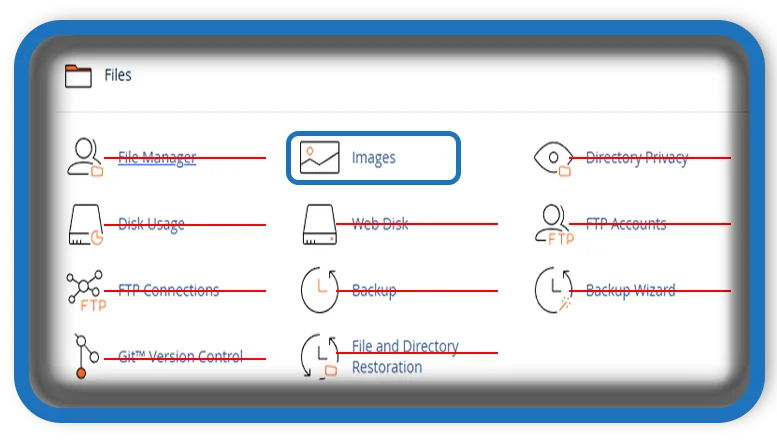
- In the cPanel dashboard, search for “Images” under the Files section.
- Click on the Images icon to open the main tool interface.
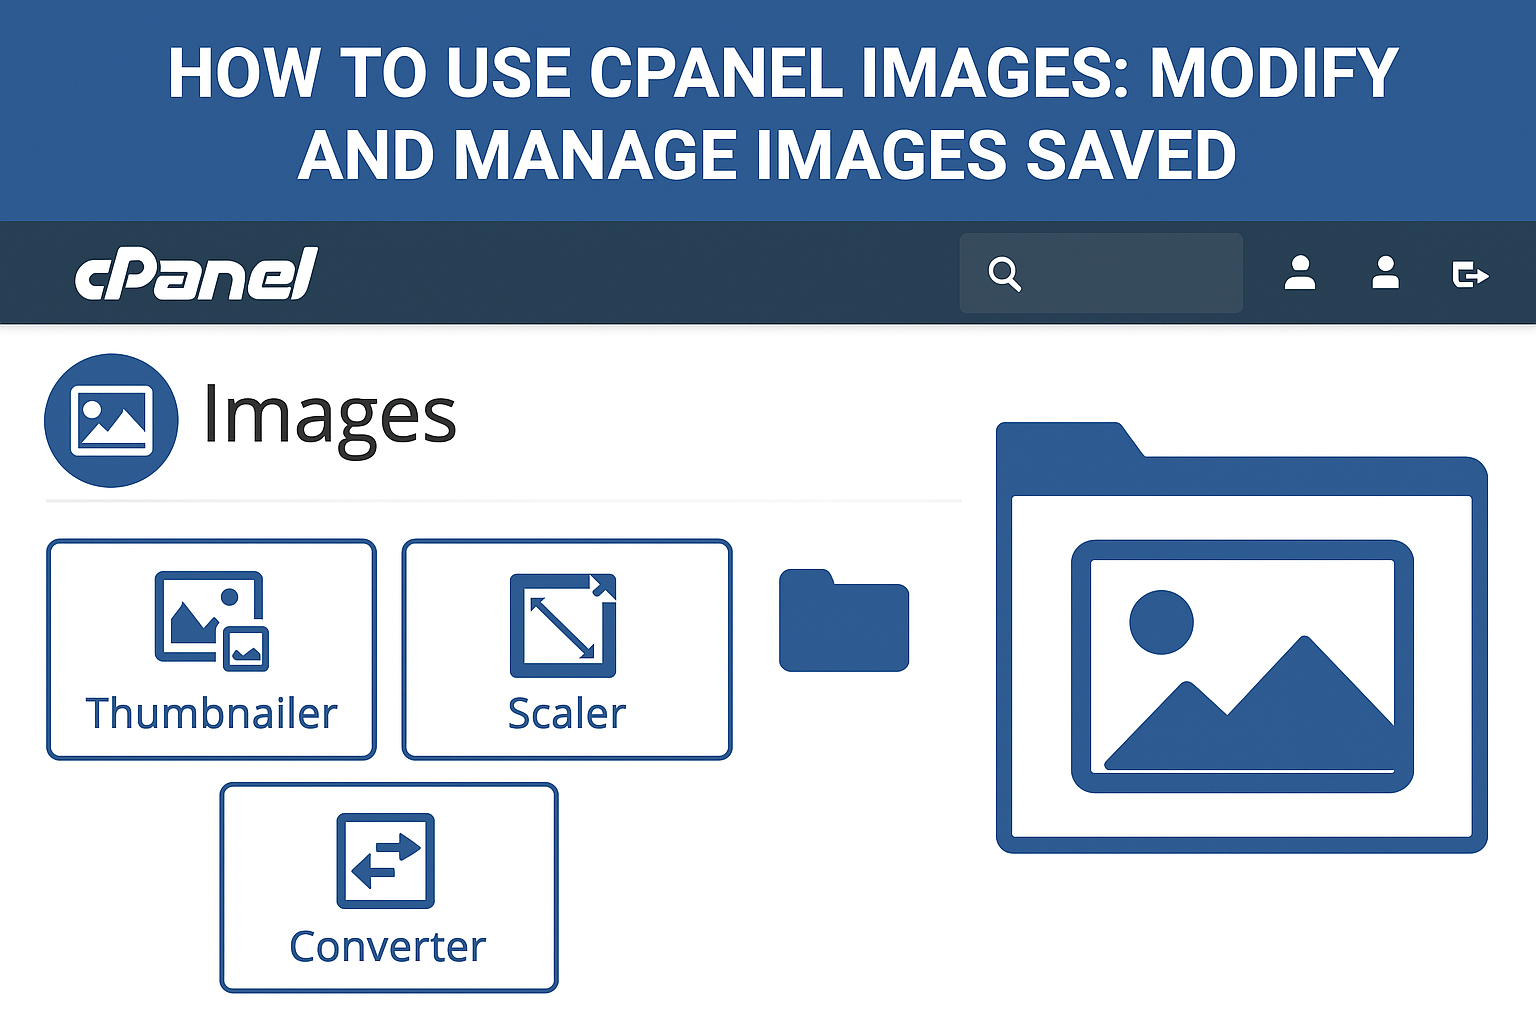
Once you’re in, you’ll see three primary utilities: Thumbnailer, Scaler, and Converter.
Managing Images: Step-by-Step
Let’s break down each of the major functions you can perform:
1. Create Thumbnails
Thumbnails are miniature versions of larger images. They are useful for galleries or pages where multiple images need to load quickly.
- Navigate to Thumbnailer in the Images tool.
- Select the folder containing the images you want to resize.
- Choose the scaling percentage.
- Click Thumbnail Images.
cPanel will create a “thumbnails” directory inside the selected folder with the new miniature images.
2. Scale (Resize) Images
Large images can slow down your website. Resizing them helps optimize performance:
- Go to the Scaler option.
- Select the image you wish to resize.
- Enter the desired dimensions (width and height).
- Check the box if you want to keep the aspect ratio.
- Click Scale Image.
Scaling doesn’t reduce file size by default, so consider combining this with file compression for maximum efficiency.
3. Convert Image Formats
Some image formats are better suited for web use than others. For example, JPG is often better for photographs, while PNG is ideal for transparent images.
- Click Converter.
- Choose the image file.
- Select the new format you want to convert to (e.g., JPG, PNG, BMP).
- Click Convert.
cPanel will automatically create a copy of the image in the new format.
Best Practices for Managing Images on cPanel
To maintain a fast, visually appealing website, follow these best practices:
Optimize Images Before Uploading
Although cPanel allows resizing, it’s best to upload optimized images from the start. Use compression tools like TinyPNG or ImageOptim to reduce file size without sacrificing quality.
Keep Original Files
Before making major changes in cPanel, always back up your original images. Mistakes happen, and having backups saves time.
Use Appropriate Formats
- JPEG: Best for photos and detailed images.
- PNG: Best for transparency and simple graphics.
- WebP: Modern format for faster loading without quality loss (some cPanel servers support WebP).
Organize Your Folders
Store images in organized folders within your cPanel public_html directory or relevant subdirectories. This will make future modifications faster and easier.
Advantages of Using cPanel’s Image Tools
- No Need for External Software: Save time and avoid installing programs like Photoshop.
- Server-Side Efficiency: Changes are made directly on your hosting server.
- Simple User Interface: Even beginners can easily modify images.
- Quick Management: Batch operations save time when handling multiple images.
Limitations to Be Aware Of
While cPanel’s image management tools are extremely useful, they do have some limitations:
- Limited Advanced Editing: No cropping, retouching, or filter options.
- Bulk Actions Are Basic: You can’t apply detailed batch edits across multiple folders easily.
- No Compression Tools: It doesn’t compress images for web optimization; you’ll need a separate tool.
For advanced image editing, you might still need an image editor or WordPress plugins like Smush or ShortPixel.
Troubleshooting Common Issues
Here are quick fixes for common problems:
- Cannot See Images Tool: Your hosting provider might have disabled it. Contact support.
- Changes Not Reflecting: Clear your browser cache or refresh your file manager.
- Image Quality Loss: Be careful when scaling images too much. Always resize proportionally to maintain quality.
Conclusion
The cPanel Images tool is a powerful, easy-to-use feature that empowers you to manage, resize, and convert your website’s images directly from your hosting panel. While it won’t replace advanced design software, it’s perfect for quick edits, performance improvements, and format conversions.
Mastering this tool will not only save you time but will also help ensure your website remains fast, professional, and efficient.
📩 Do you have questions or suggestions? Leave a comment or contact us!
🏷️ Tags: cpanel, cpanel images, manage images, resize images, convert images, web hosting tools, website optimization, image compression, cpanel tutorial, server-side editing
Only logged-in users can submit reports.
Discover more from HelpZone
Subscribe to get the latest posts sent to your email.