⏲️ Estimated reading time: 4 min
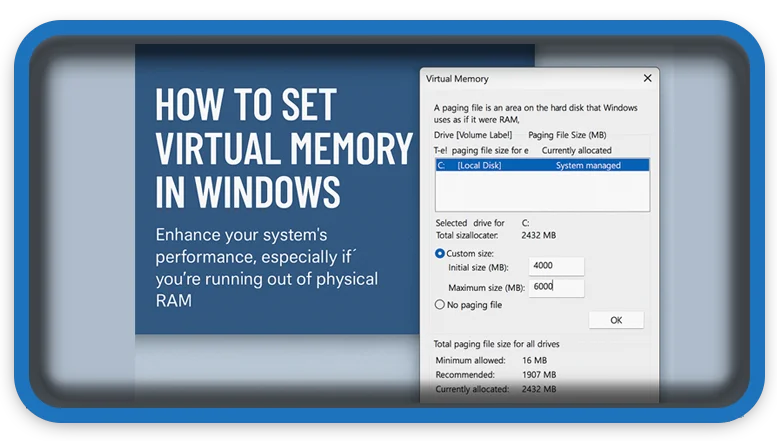
Virtual memory helps Windows perform better when your physical RAM is full. Learn how to set it properly and discover the best initial and maximum values for systems from 4GB to 128GB of RAM.
🔍 What Is Virtual Memory?
Virtual memory is a hidden system feature in Windows that uses your hard disk or SSD to act as additional RAM. It’s crucial for maintaining performance when the physical memory (RAM) runs low, especially during multitasking or heavy software use.
Instead of crashing or freezing, Windows moves unused memory pages from RAM to a hidden file called pagefile.sys, stored on your disk. This process is called paging.
🔧 Why Should You Adjust Virtual Memory?
Although Windows manages virtual memory automatically, manual configuration can:
- Improve performance in specific use cases
- Prevent low-memory warnings
- Optimize system behavior for gaming, video editing, or multitasking
- Enable full crash dump support for debugging
📚 How to Set Virtual Memory in Windows
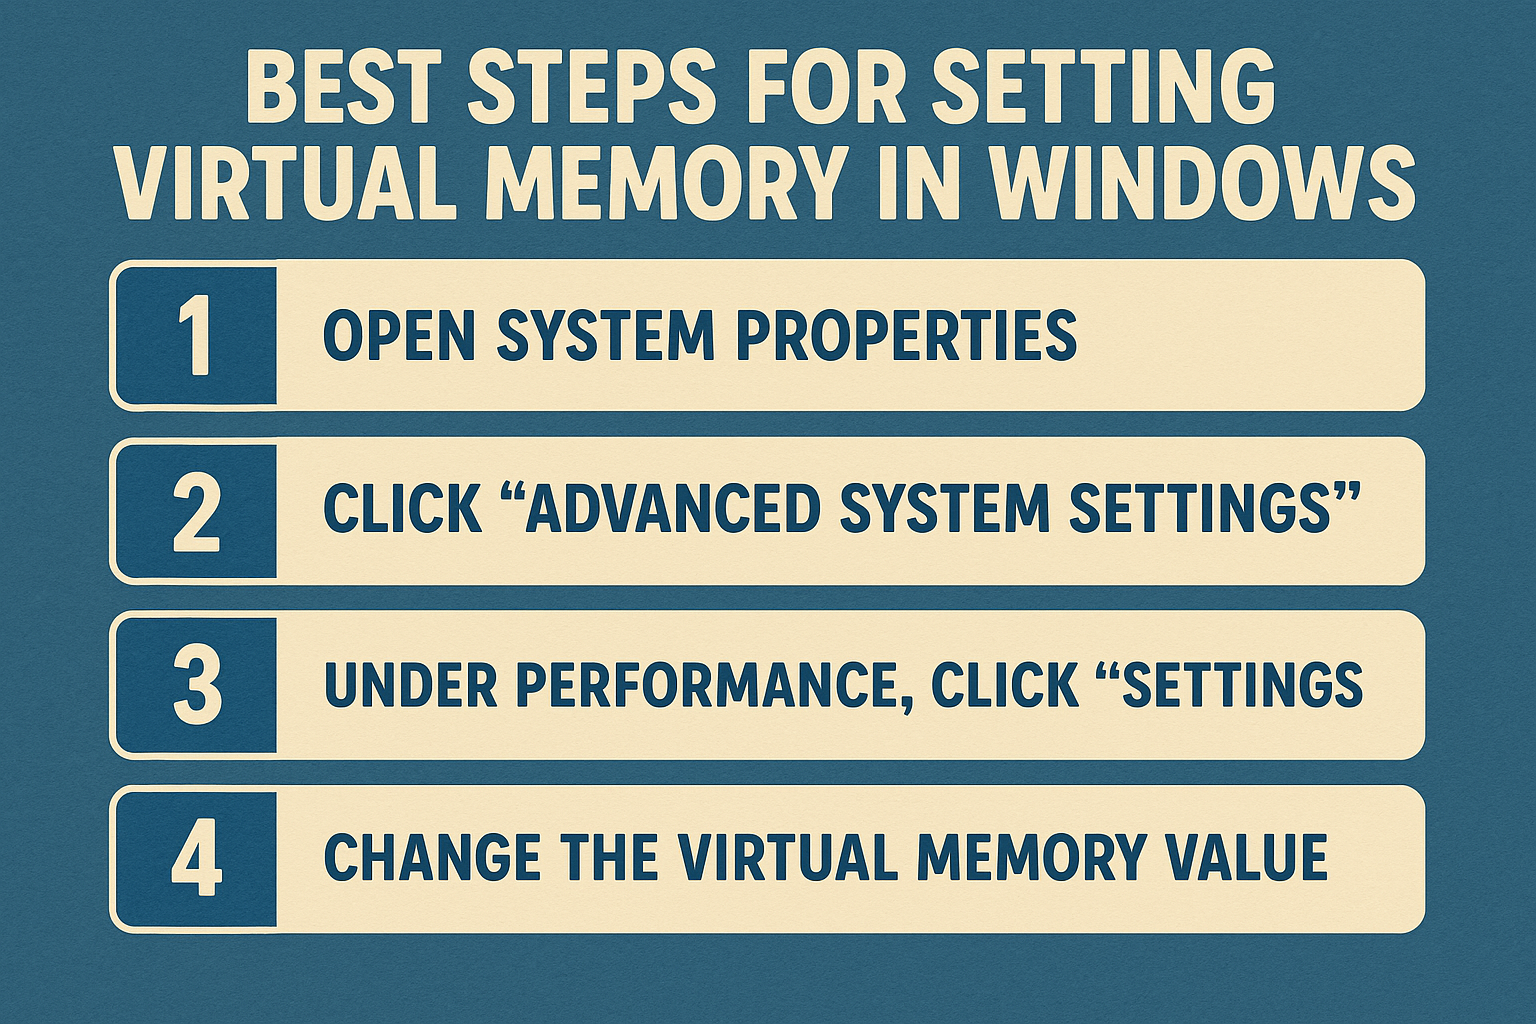
✅ Step-by-Step Instructions:
- Press
Windows + Sand search for Advanced system settings. - Click View advanced system settings.
- In the System Properties window, go to the Advanced tab.
- Click Settings under the Performance section.
- In the new window, select the Advanced tab.
- Click the Change… button under VM.
- Uncheck Automatically manage paging file size for all drives.
- Choose your system drive (usually C:).
- Select Custom size, then enter initial and maximum values (see table below).
- Click Set, then OK.
- Restart your computer to apply the changes.
📋 Recommended Virtual Memory Settings
Use the table below to find the right values for your RAM configuration. These are suggested values that balance performance and disk usage:
| Installed RAM | Initial Size (MB) | Maximum Size (MB) |
|---|---|---|
| 4 GB | 1024 | 4096 |
| 8 GB | 2048 | 8192 |
| 16 GB | 4096 | 16384 |
| 32 GB | 8192 | 32768 |
| 64 GB | 16384 | 65536 |
| 128 GB | 32768 | 65536 or 131072 |
Note: With 128 GB RAM, some users may choose to disable virtual memory or use minimal values, but it’s safer to keep at least 32 GB for system stability and crash dumps.
🚀 Pro Tips for Virtual Memory Management
- Use SSDs for better performance: If possible, assign the page file to an SSD instead of an HDD.
- Avoid disabling VM completely: Some programs rely on it, even with high RAM.
- Don’t over-allocate: Setting excessively high values doesn’t improve performance and wastes disk space.
- Leave room on disk: Ensure your drive has enough free space for the page file to expand.
🤔 Should You Let Windows Manage It?
For most casual users, yes. However, in professional environments where predictability and performance are critical, manually setting VM is a better option.
Examples:
- Running Adobe Premiere or After Effects
- Hosting a local server or VM
- Using 3D modeling or engineering software
🔢 How to Check Current Virtual Memory Usage
- Open Task Manager (
Ctrl + Shift + Esc). - Go to the Performance tab.
- Click Memory.
- See Committed at the bottom this is your current RAM + page file usage.
You can also use resmon.exe or Resource Monitor for a more detailed view.
📆 Final Thoughts
Virtual memory isn’t just a technical setting to ignore. When managed correctly, it can dramatically enhance your system’s performance and stability.
If you experience lags, crashes, or “Out of Mem” errors, adjusting VM could be the simple fix you need.
🔔For more tutorials like this, consider subscribing to our blog.
📩Do you have questions or suggestions? Leave a comment or contact us!
🏷️ Tags: virtual memory, Windows tips, RAM optimization, pagefile, system performance, Windows 11, Windows 10, disk management, SSD tips, memory settings
📢 Hashtags: #WindowsTips, #VirtualMemory, #RAMBoost, #PerformanceTweaks, #SystemSettings, #TechHelp, #ComputerTips, #WindowsGuide, #PCOptimization, #SSDConfiguration
📅 Wrap-Up
Configuring your virtual memory is a powerful tweak for both novice and advanced users. By setting appropriate values based on your system’s RAM, you unlock greater stability and smoother multitasking. Don’t let your system choke when RAM fills up let virtual memory handle the overflow like a pro!
Only logged-in users can submit reports.
Discover more from HelpZone
Subscribe to get the latest posts sent to your email.