⏲️ Estimated reading time: 2 min
How to Open Ports for Destiny 2 on Windows – Quick Guide. Struggling with connection issues in Destiny 2 on PC? Learn how to open the necessary ports on Windows to reduce lag, improve matchmaking, and ensure a smoother gaming experience. This guide walks you through every step.
How to Open Ports for Destiny 2 on Windows
If you’re experiencing lag, disconnects, or slow matchmaking in Destiny 2 on your Windows PC, opening the correct ports can help. Port forwarding ensures better connectivity between your computer and Bungie’s servers. Here’s a step-by-step guide.
🎯 What Ports Does Destiny 2 Use?
To play Destiny 2 without connection issues, you need to open the following ports:
- TCP: 3074, 3097
- UDP: 3074, 3097, 30000–35000
These ports allow smoother communication for gameplay, chat, and matchmaking.
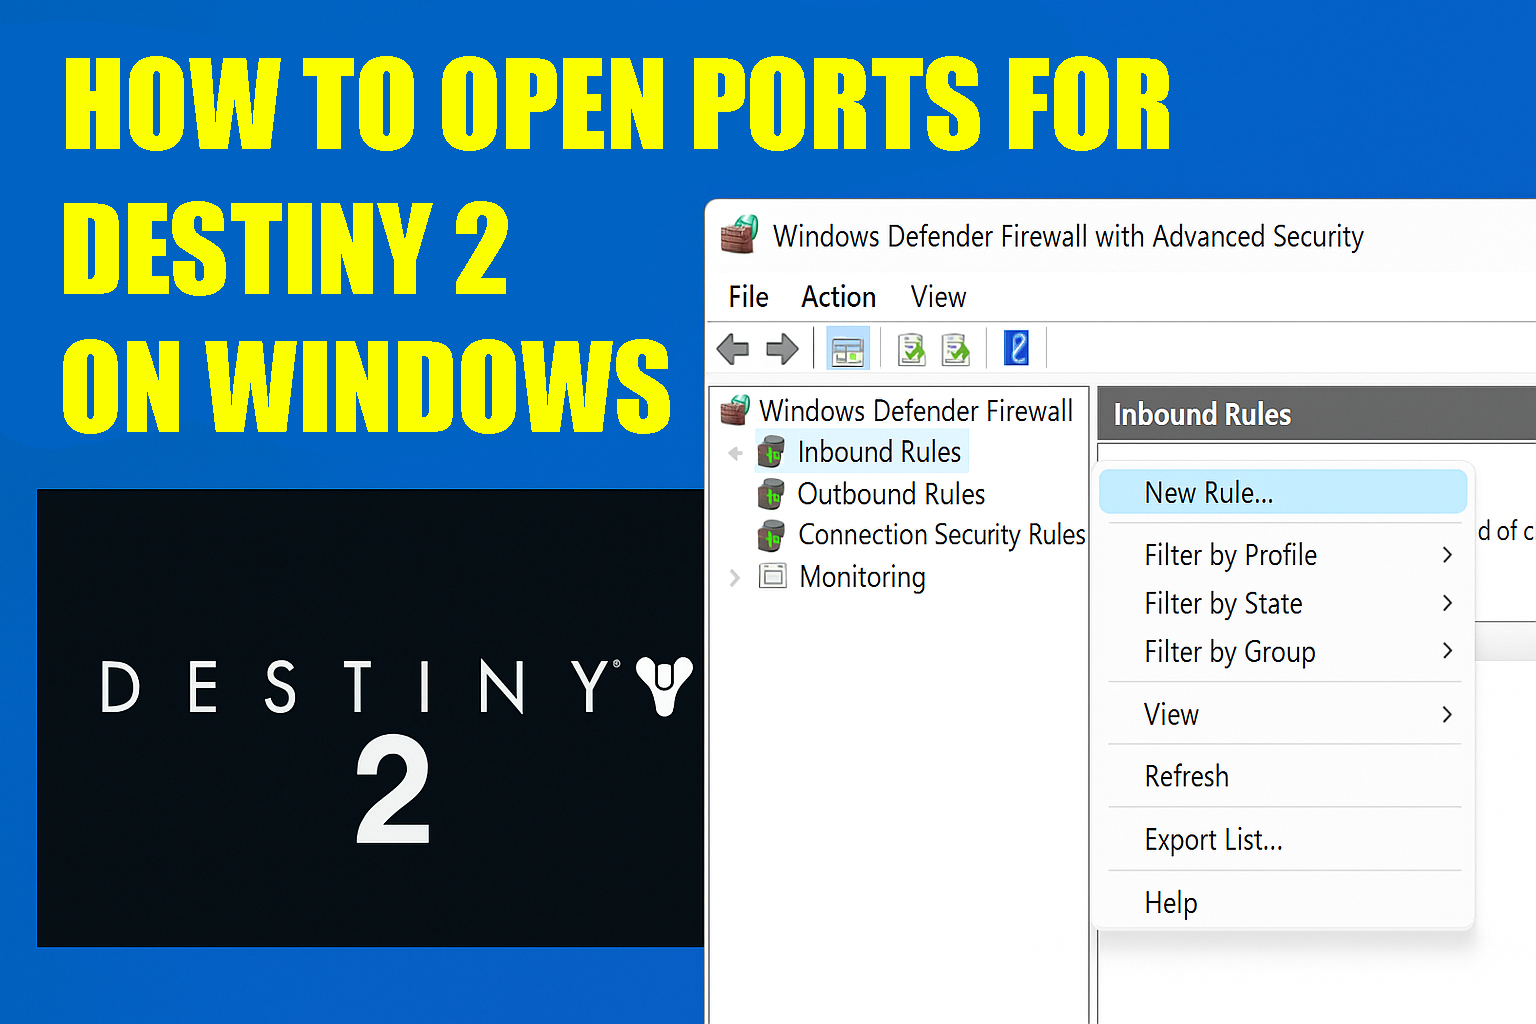
🛠️ How to Open Ports on Your Router (Port Forwarding)
- Find Your Router’s IP Address:
- Press
Win + R, typecmd, and hit Enter. - Type
ipconfigand look for Default Gateway (e.g., 192.168.0.1).
- Press
- Log into Your Router:
- Open a browser and enter the IP address.
- Log in with your router credentials (usually on a sticker or manual).
- Locate Port Forwarding Section:
- Navigate to Advanced Settings or Port Forwarding.
- Add New Port Rules:
- For Destiny 2, add:
- Name: Destiny2_TCP
Protocol: TCP
Ports: 3074, 3097
IP: Your PC’s IP address - Name: Destiny2_UDP
Protocol: UDP
Ports: 3074, 3097, 30000–35000
IP: Your PC’s IP address
- Name: Destiny2_TCP
- For Destiny 2, add:
- Save and Restart:
- Save settings and reboot your router and PC.
💻 Assign a Static IP to Your PC (Optional but Recommended)
If your IP changes often, port rules may stop working. To fix that:
- Go to Control Panel > Network & Internet > Network Connections
- Right-click your active adapter > Properties
- Select IPv4 > Properties
- Manually set an IP (use one outside the DHCP range of your router)
🔍 Test If Ports Are Open
Use tools like PortChecker or YouGetSignal to verify port status.
✅ Final Tips
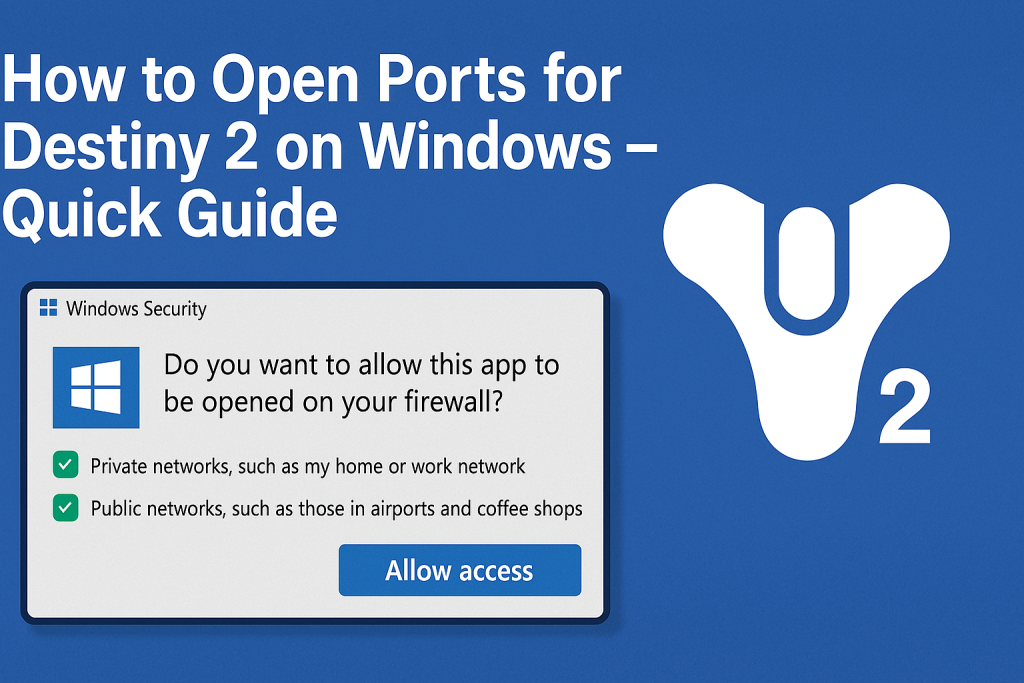
- Always check your firewall and antivirus ensure Destiny 2 is allowed.
- Some ISPs may block certain ports. Contact them if issues persist.
- Use UPnP if manual port forwarding doesn’t work.
Tags: Destiny 2, port forwarding, gaming tips, Windows 10, Windows 11, network settings, router setup, fix lag, online gaming, Bungie
Only logged-in users can submit reports.
Discover more from HelpZone
Subscribe to get the latest posts sent to your email.