⏲️ Estimated reading time: 4 min
How to Use the cPanel Backup Wizard to Safeguard Your Website. When it comes to managing a website, one of the most crucial tasks every site owner should prioritize is creating regular backups. Whether you’re running a blog, an e-commerce site, or a portfolio, backups are your safety net in case of server crashes, hacking incidents, or accidental data loss. Fortunately, if your hosting provider uses cPanel, you have access to a powerful and user-friendly tool.
In this article, we’ll explore how to use the cPanel Backup Wizard effectively to create and restore backups, and why it’s essential for the long-term health of your website.
What Is the cPanel Backup Wizard?
Is a simplified, step-by-step tool within the cPanel dashboard that allows users to easily create full or partial backups of their website files, databases, email accounts, and more. Unlike the standard backup tool, the wizard breaks the process into clear stages, making it accessible even for beginners with no technical background.
Why You Should Use the Backup Wizard
Here are some key reasons why the cPanel Backup Wizard is a must-use tool:
- Ease of Use: It simplifies the entire backup process into three guided steps.
- Peace of Mind: Knowing that your site data is safe and restorable reduces stress.
- Quick Recovery: In case of data loss or errors, you can restore your site quickly.
- No Need for Extra Plugins: Many WordPress users rely on plugins, but cPanel does it natively.
Step-by-Step Guide to Using the Backup Wizard
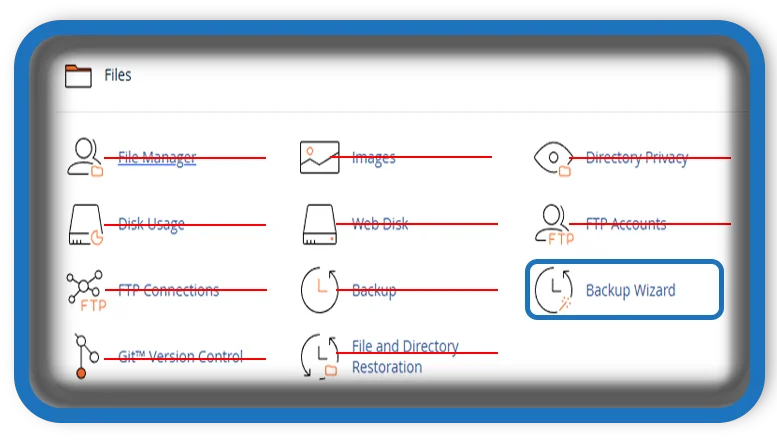
Step 1: Access the Backup Wizard
- Log in to your cPanel account.
- Scroll down to the Files section.
- Click on Backup Wizard.
This will open the welcome page of the wizard with two primary options: Backup and Restore.
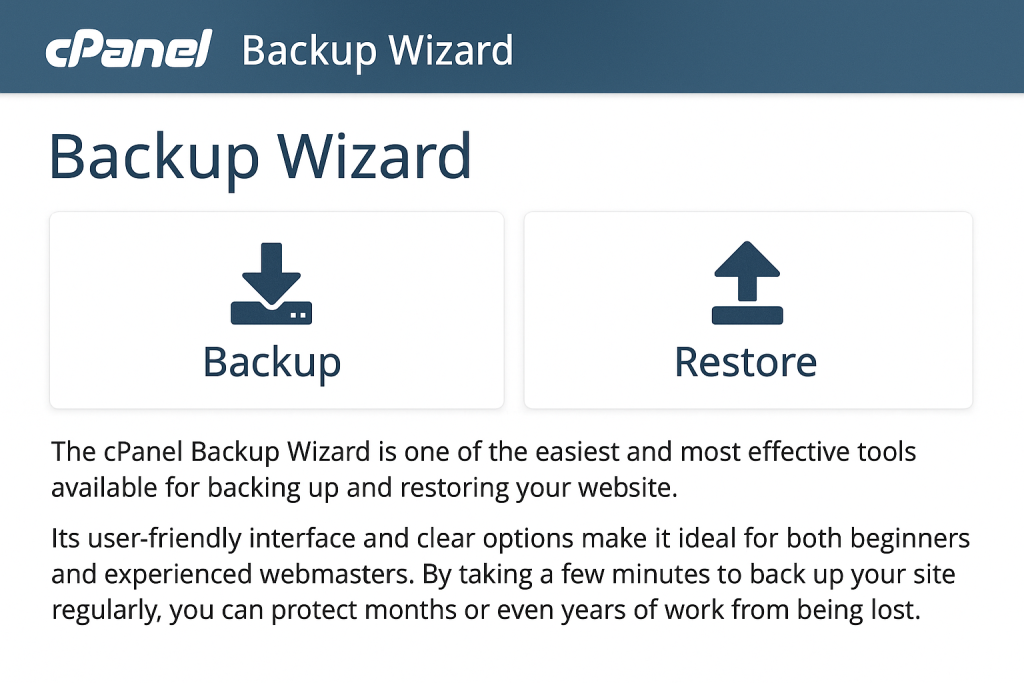
Step 2: Creating a Backup
- Click on Backup.
- Choose between Full Backup or Partial Backup:
- Full Backup: Includes your home directory, MySQL databases, email forwarders, and filters.
- Partial Backup: You can choose specific components like home directory or databases.
- For Full Backup:
- Select the backup destination (typically “Home Directory”).
- Enter your email address to be notified when the backup is complete.
- Click Generate Backup.
The system will begin creating the backup. Depending on the size of your site, it may take a few minutes to complete.
Step 3: Downloading Your Backup
Once the backup is complete, you’ll receive an email notification. To download the backup:
- Return to the Backup Wizard.
- Click on Full Backup again.
- You will see the available backup file with a link to download it to your local computer or external drive.
Pro Tip: Store backups off-site (e.g., Google Drive, Dropbox, or external HDD) to protect against server-level failures.
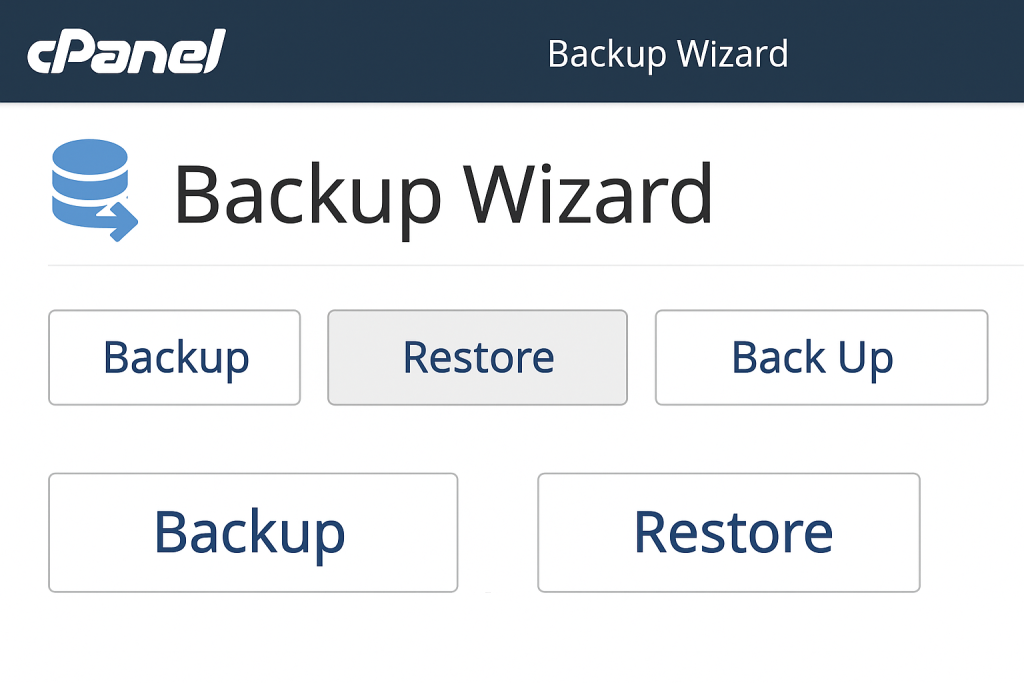
Restoring from a Backup
To restore your website:
- Open Backup again.
- Click Restore.
- Choose what you want to restore: Home Directory, MySQL Databases, or Email Forwarders & Filters.
- Upload the corresponding backup file from your computer.
cPanel will process the file and reinstate the backed-up data.
Additional Tips for Backup Management
- Automate Your Backups: While Backup Wizard is manual, check if your host offers automated backups.
- Schedule Reminders: Set weekly or biweekly calendar reminders to create backups.
- Version Control: Keep several backup versions in case you need to revert to an earlier version of your site.
Conclusion
The cPanel Backup Wizard is one of the easiest and most effective tools available for backing up and restoring your website. Its user-friendly interface and clear options make it ideal for both beginners and experienced webmasters. By taking a few minutes to back up your site regularly, you can protect months or even years of work from being lost.
📩 Do you have questions or suggestions? Leave a comment or contact us!
🏷️ Tags: cPanel, Backup Wizard, Website Backup, cPanel Tutorial, Website Security, Backup and Restore, Web Hosting, Data Protection, WordPress Hosting, Beginner Guide
Only logged-in users can submit reports.
Discover more from HelpZone
Subscribe to get the latest posts sent to your email.